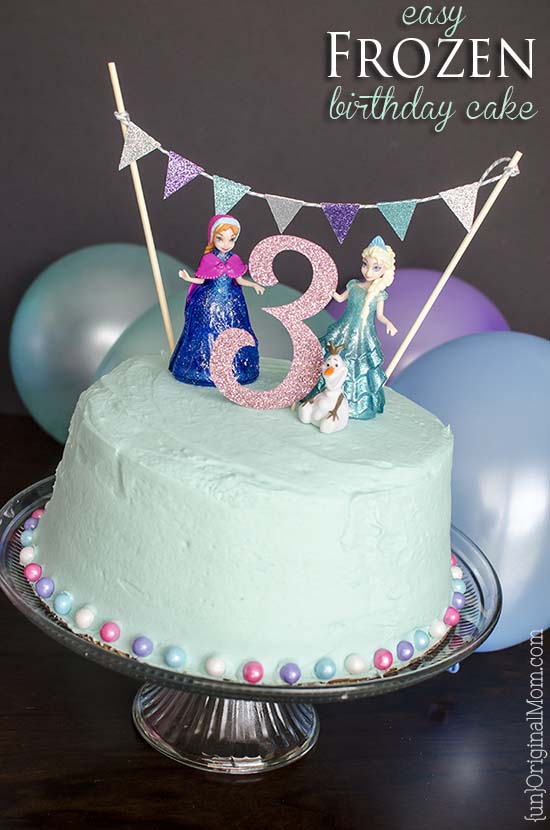
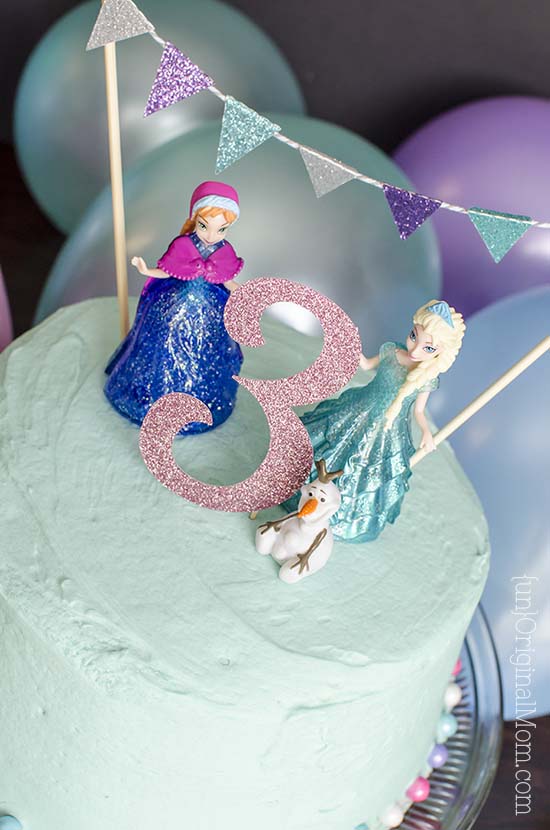
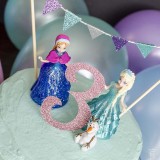
A 3 layer Frozen birthday cake made easy with a box mix, food coloring, and plastic Frozen figurines as cake toppers.
This post contains affiliate links – click here to read my full disclosure.
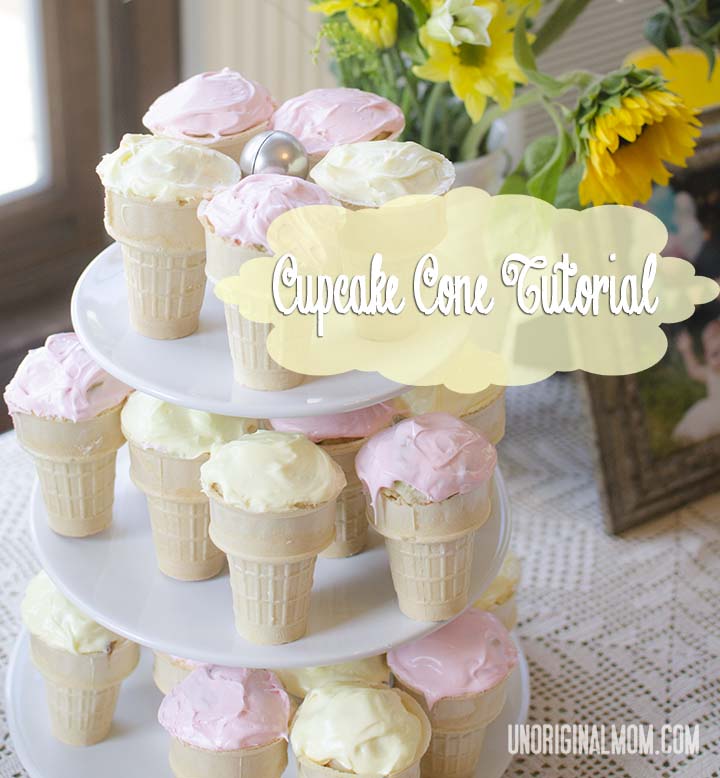
I honestly can’t believe I have a three year old. It wasn’t that long ago that I was posting about Addy’s first birthday! Now, she’s full of sass and personality, notices and remembers everything, knows her right from her left, and can even write her name. My baby girl isn’t a baby anymore! We ended up throwing together a small get-together of family and friends to celebrate her birthday this weekend. It was nothing fancy, but since I’ve made her birthday cake the past two years I decided I wanted to make one for her again this year. For her first birthday, I made Cupcake Cones (super easy):
And for her second birthday, she got an Elmo cake. Slightly more involved, and my first foray into fondant, but I used a mold and store-bought red icing. It turned out pretty great, I think!
I figured I’d be upset with myself to bail out on the homemade-cake tradition in just year 3!
Simplicity was key, since we were going to a local amusement park during the day and I wouldn’t have time to do much prep after we got home. Plus I am NOT a baker, so anything involving piping, fondant, etc, was going to be more time consuming than I wanted to get into. After some Pinterest-searching, I found some inspiration to make Addy’s easy Frozen Birthday Cake – this pin (to an expired Etsy posting) was my inspiration for the exterior of the cake, and this tutorial was my inspiration for the inside!
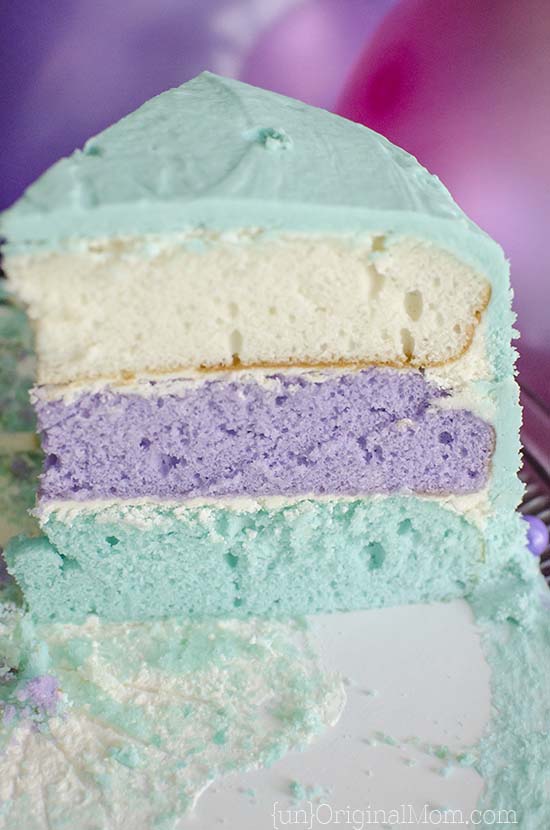
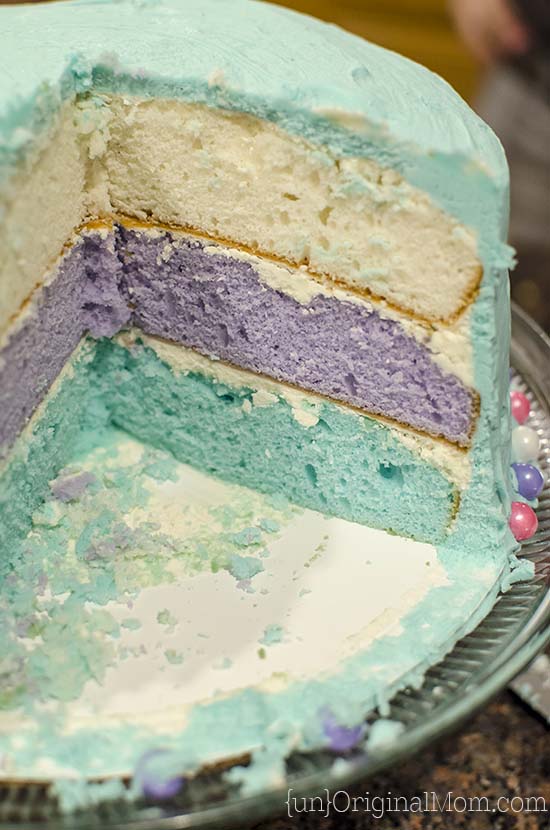
To be honest, it was really pretty easy! The hardest part (and the part I hate most about baking) is all the bowls and pans you have to wash. I made the whole thing the day before and just saved the cake-topper decorating for the day-of, which was great. I used two white cake box mixes and prepared them as directed, then split it evenly into three bowls and added food coloring to two of them. (I used Wilton’s gel food coloring in sky blue and violet.) Then I poured them into 9″ round cake pans, baked, and cooled on a wire rack. After the cakes were completely cool, I used a bread knife to slice off the rounded tops – and probably ate more cake crumbs than I should have :-/
As the cakes were cooling, I make a quadruple batch of this buttercream frosting. (Quadruple sounds like a lot, but it’s really not – it was just the right amount.) Before adding food coloring, I used the white buttercream to assemble the three layers and do a “crumb coat.” Essentially that’s your thin bottom layer of icing that keeps you from getting crumbs in your top coat of buttercream. I also liked using the white icing to separate the layers. Once my crumb coat was done, I let it sit for about 30-45 minutes until it crusted over a little bit. Meanwhile, I added blue food coloring (that same sky blue that I used in the cake) to the remaining icing until I got the color I wanted. That buttercream went on top. I found that using an offset spatula really helped me to get that nice, clean, smooth frosting look I was going for – SO much easier than a butter knife! Then, the completed cake went into the refrigerator overnight.
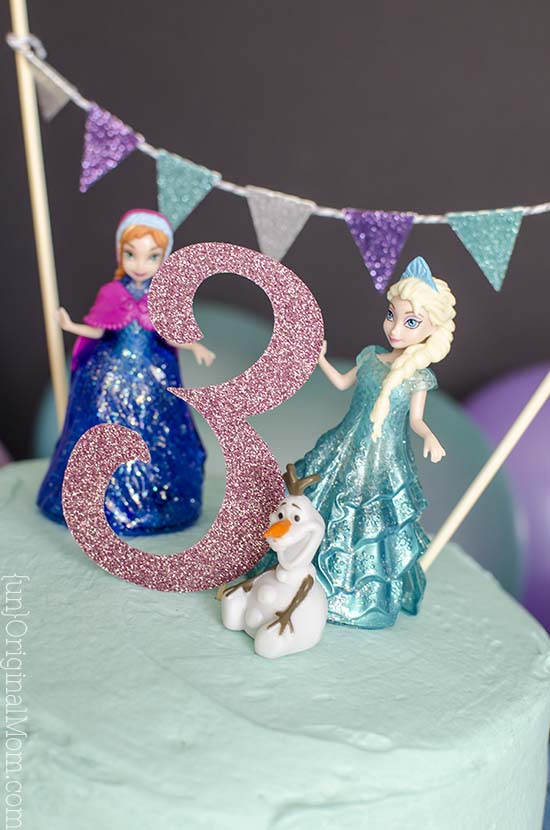
The decorations were super simple! I used my Silhouette to cut the number “3” out of pink glitter paper, and little triangular bunting flags out of blue, purple, and silver glitter paper. The bunting is taped to bakers twine, which was tied to kebob skewers. The easiest and most effective touch to the Frozen theme was adding these little Frozen plastic dolls – combination cake toppers and birthday gifts! They are plastic, so it was easy to rinse off any frosting, and my daughter has loved playing with them, too.
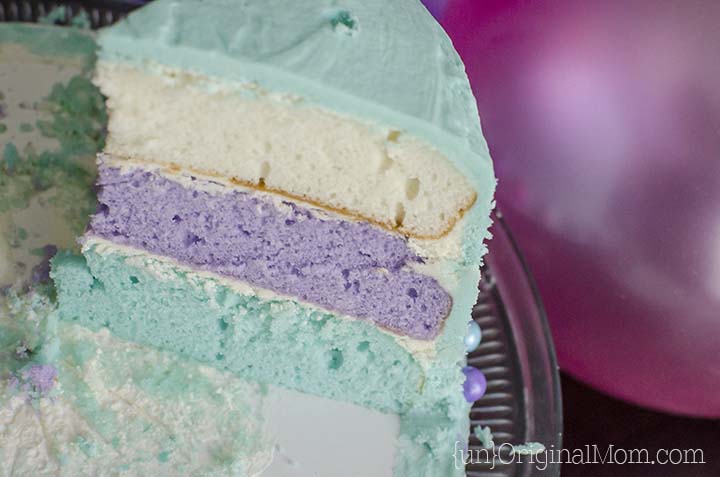
And everybody “ooh”-ed and “ahhh”-ed when we cut into the cake to reveal the pretty colored layers!
Not only was it a pretty cake, it was delicious, too :-) And Addy loved it, which is all that matters!
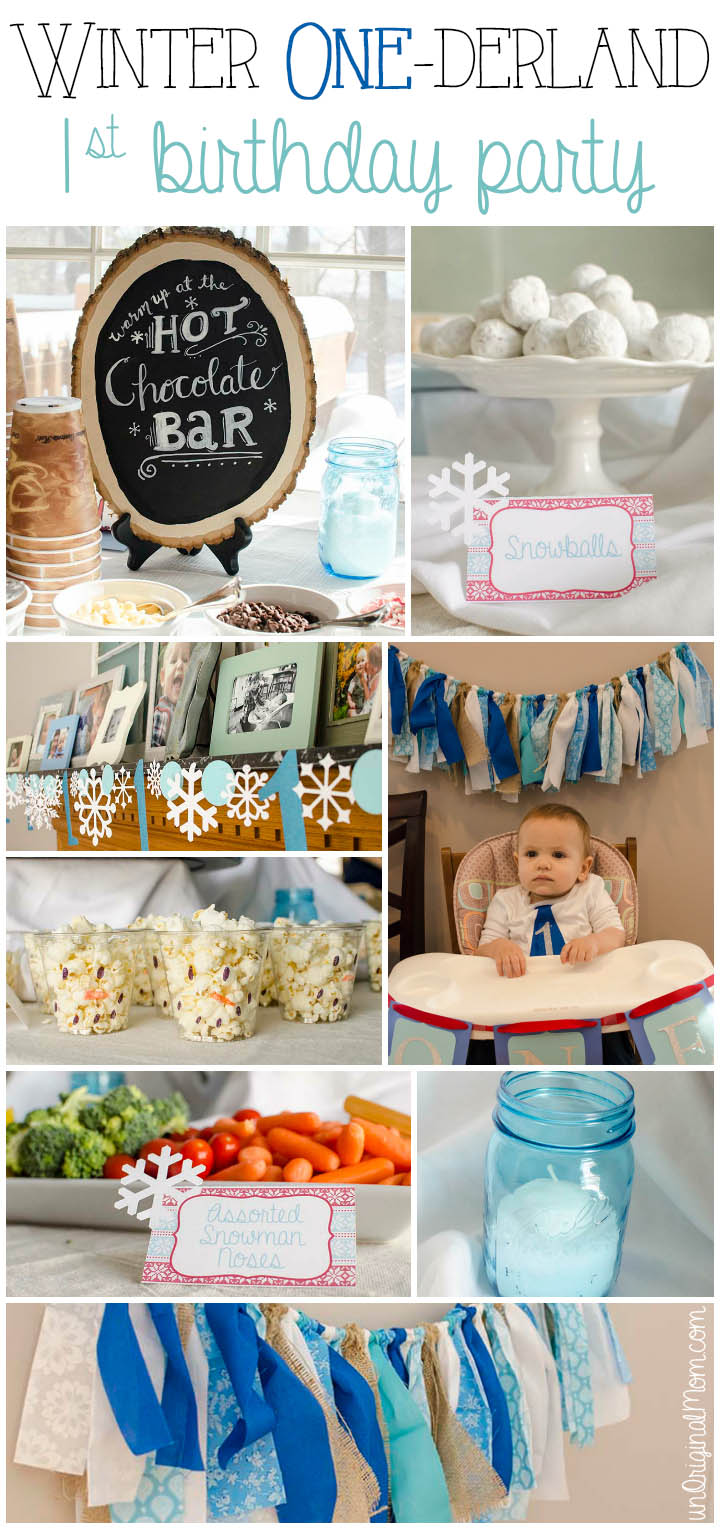
Are you planning a Frozen birthday party? You should take a look at the Winter Onederland party that I put together for Addy’s little brother – there are several elements that would be perfect for a Frozen party, like a Hot Chocolate bar or simple mason jar “snow” votive candles.
MORE CRAFTY DISNEY IDEAS!
This post contains affiliate links – click here to read my full disclosure.


Get your copy of my FREE meal planning binder!

Sign up to get a free copy of my meal planning system - an 11 page printable meal planning binder, complete with a pantry inventory, shopping list, and more to help get on top of your menu each week!


 Free Printable Disney Boarding Pass Tickets
 Disney Frozen Stroller Sign
 My Happy Place Disney Shirt
.jpg) Disney Shirts with Free Cut Files
Disney Shirts with Free Cut Files
 Elena of Avalor Shirt + Free Cut File
 Easy Frozen Themed Birthday Cake
 The Perfect Minnie Mouse Costume
 Little Mermaid and Flounder Costume
 Toddler Tinkerbell Costume
 DIY Elena of Avalor Costume
 MORE Free Disney Cut Files


Oh how I love this cake! So sweet! Happy birthday Miss Addy!!
Thanks so much, Marisa!! :-)
Your cake looks great! I love the garland you made…and the colors of the cake! It’s funny, but the only real reason I don’t bake as much as I’d love to is all of the dishes I’d have to do afterward!
–Brittany
http://www.diyjustcuz.com
YES! I don’t terribly mind the actual act of baking but all the dishes and mess just stress me out as I’m doing it!! Somebody needs to invent cheap disposable mixing bowls, haha!
What a cute cake! It just brought back the memory of the rainbow cake I baked for my girl’s 3rd birthday. I also don’t really enjoy the baking oart but I really enjoy decorating and looking at my girls’ face when they saw the cake. Anyway, happy birthday, miss Addy!
Thanks so much, Veronika! I agree, I really don’t like the baking part, but it’s all worth it to see the look on her face :-)
I love this cake! My daughter loves Frozen, and she has a birthday coming up next month. I really like this cake because it looks like something I can actually make myself. I’m not much of a baker!
Navy Wifey Peters @ The Submarine Sunday Link Party
Thanks T’onna! I am definitely not a baker, either…I promise, if I can do it, you can do it!
How did you make the bunting?
Hi Kristen, I used my Silhouette to cut triangles out of glitter card stock (though you could cut them by hand too), taped them to a piece of baker’s twine, and attached it to two wooden kebab skewers. Very easy!
What did use for the ball trimming around the bottom of the cake?
Hi Melissa, I think they are Wilton Sugar Pearls…just something I found in the cake aisle with the other sprinkles and things!
Do you remember how much of the food coloring you needed for the blue and purple layers of the cake?
Hi Kimberly, I don’t remember exactly but I know I used gel food coloring and didn’t need very much. Just add the coloring a little bit at a time until you get the color the way you like it. Hope that helps!
Hello! I just made this cake for my daughter’s 2nd birthday. It was a hit. Thank you for the detailed instructions and wonderful images for inspiration.
Oh I’m so glad! You’re very welcome, thank YOU for taking the time to leave a note! :-)
Going to make this for my daughters fourth birthday next week. Hopefully it goes well! I am not much of a baker but since I have had children I have become really into crafts and things. This cake does look like something I could hopefully pull off, thanks so much for the step by step guide, is so helpful when you see all the amazing cakes out there it is really daunting thinking how you would even go about doing it! I had to look up a couple of the terms as here in the uk we seem to call a couple of things different, confectioners sugar is icing sugar! Lol! Also I had no idea what a silhouette was…just looked it up and it looks fab! Def requires some research on my part! :-) will go for the hand cutting for now and hope for the best! Thanks again :-)
Oh I hope it turned out well! I love the “wow” factor of this cake and how easy it is for non-bakers like us :-)
[…] 6. Frozen Birthday Cake […]
[…] Easy Homemade Cake (with toys as toppers) […]
[…] Download Image More @ http://www.unoriginalmom.com […]
[…] Image source by unoriginalmom […]
[…] 1. Easy Frozen Layer Cake […]
What a delightful birthday tradition! Your Frozen cake looks amazing and I love how you found inspiration online. It’s wonderful that you put so much effort into making your daughter’s birthday special. The simple yet creative approach you took is inspiring. Thanks for sharing your experience and tips for making a memorable cake!
This Frozen birthday cake sounds like a fun idea! Love how you’ve made it simple yet special with a box mix. Your past cakes for Addy also sound amazing. Can’t wait to see the final result!