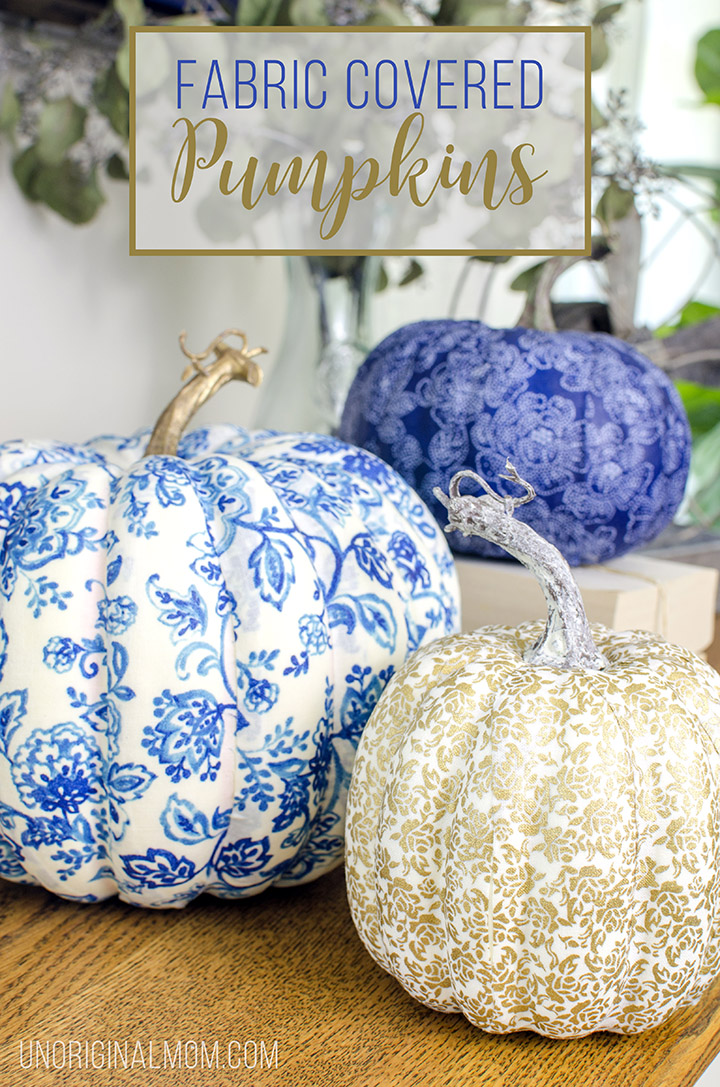
I have such mixed feelings about the change of seasons from summer to fall…on one hand, I *love* all-things-fall and can’t wait for crisp clear autumn days, sweaters with leggings and boots, football games, fall festivals, and pumpkin spice flavored everything! On the other hand, it’s sad to say goodbye to the warm sun, cook-outs, evenings on the deck and lazy summer days. I think for that reason, my transition from summer to fall decor is a very gradual one. Partly because I don’t do much “summer decorating” in the first place, and also because I find myself layering more and more fall decor in my home all the way up until Thanksgiving. I like to begin in September with lots of neutral colored elements and add more traditional fall colors in October and November. All that to say, I think these DIY Fabric Covered Pumpkins are a perfect way to let fall just begin to creep into your home – they’re subtle and tasteful but they definitely qualify as fall decor!
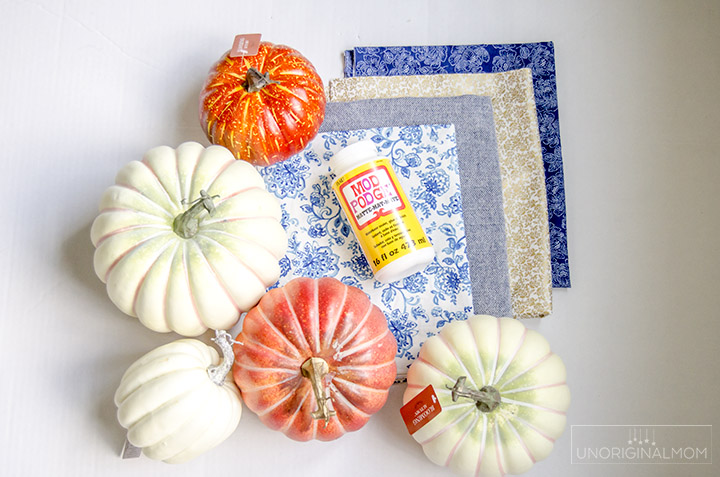
SUPPLIES:
(this post contains affiliate links. Click here to read my full disclosure.)
- fabric (if you’re looking for the same fabric I used, here’s a link to the blue dot fabric!)
- faux pumpkins
- Mod Podge
- foam brush
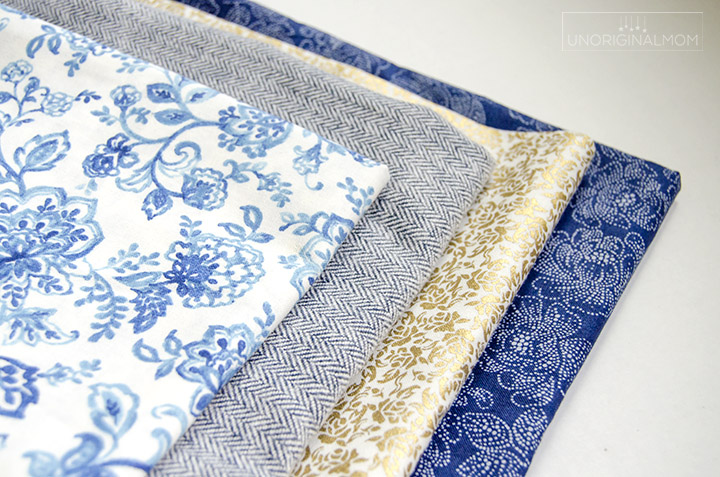
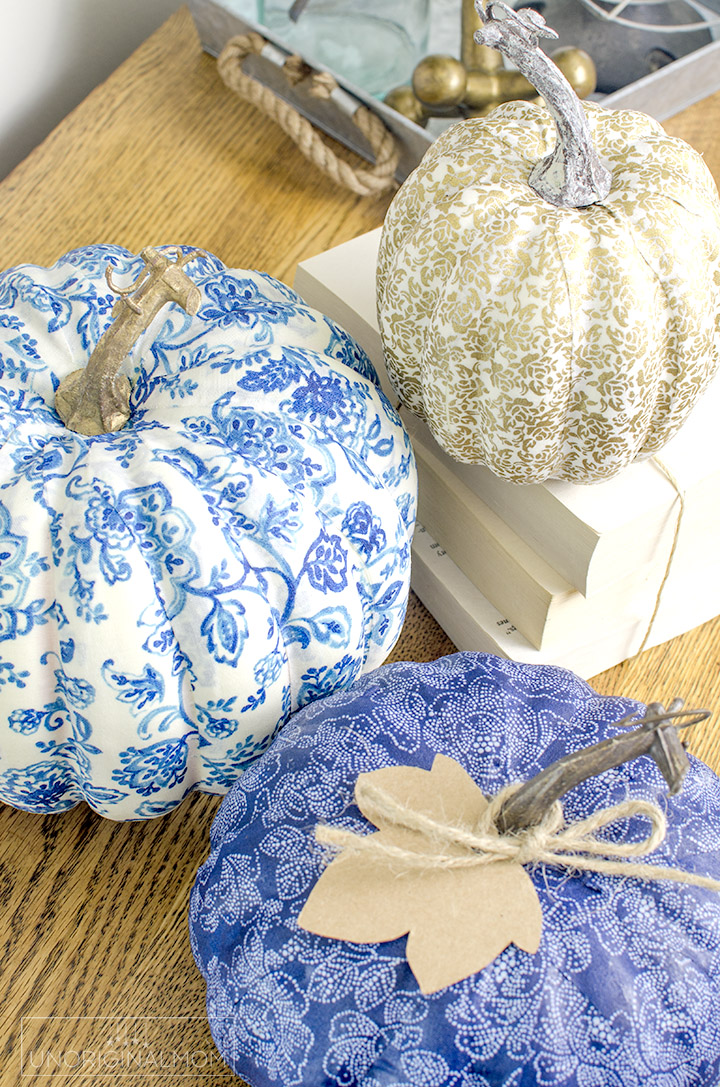
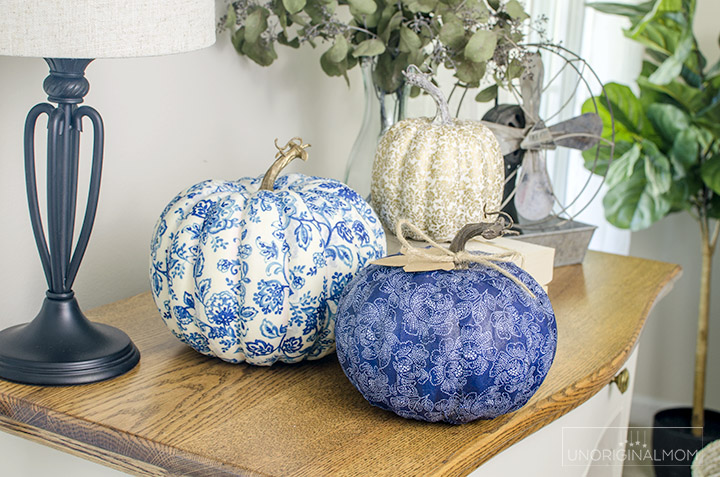
I headed to my local JoAnn’s to browse the fabric selection and pick up some faux pumpkins. Since it’s still August, I decided to go the opposite direction from the typical browns, oranges, and reds of fall and try something a little different – blue! Isn’t this fabric just to die for? SO pretty! I threw the gold in there for a little accent but ending up loving that just as much as the blue, too.
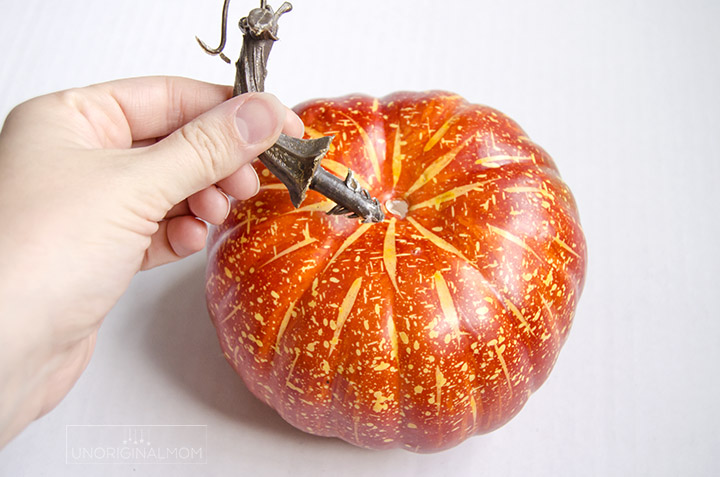
Before I started applying the fabric strips, I needed to get the stem out of the way – it would have been really hard to try to apply the fabric around the stem. I was able to just pull the stem out without too much trouble by rocking it back and forth and firmly pulling up. (Though on another one of the pumpkins I did this and the stem pulled out a big chunk of the top of the pumpkin along with it – oops! It ended up being totally fine, though, as I covered with the fabric and you can’t even tell! So don’t worry if that happens to you too.)
I started by cutting strips by hand, but that was taking too long…so I cut 1.5-2″ strips (depending on the size of the pumpkin) using my rotary cutter. The length will depend on the size of the pumpkin, too. I bought a half yard of each kind of fabric and ended up not using more than 1/4 yard of any of them, but again – it totally depends on the size of the pumpkin and how many you’re covering.
After I had a big pile of strips cut, I used fabric scissors to cut points at both ends – that helps the fabric lay better on the top and bottom of the pumpkin.
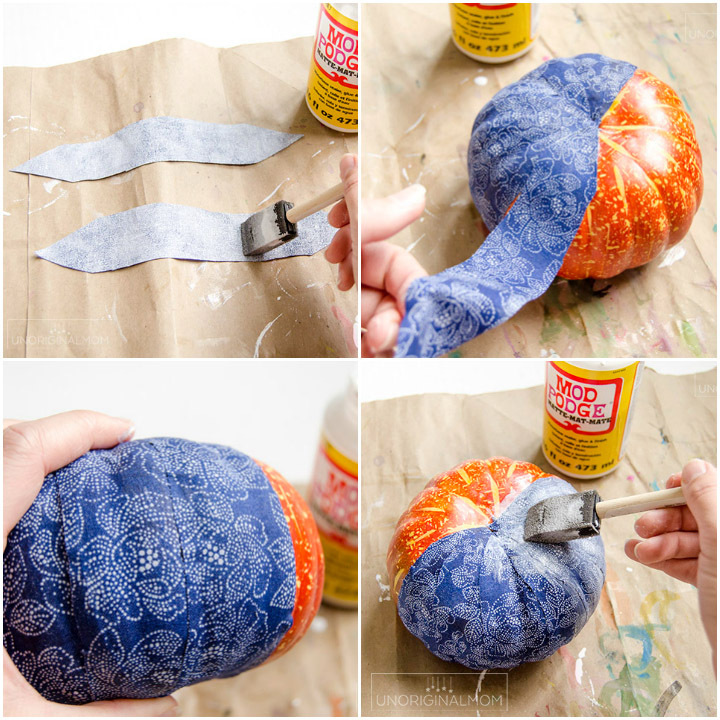
To apply the fabric strips to the pumpkin, paint the back side of the fabric generously with Mod Podge and then smooth them onto the pumpkin, top to bottom. It helps if you stretch the fabric a little bit and then use your fingers to smooth out the wrinkles. (It’s okay if you end up with some wrinkles on the bottom.) Continue to apply each strip, overlapping them slightly. Then, either immediately after applying each strip or at the end after you’ve applied them all, coat the top of the fabric with more Mod Podge.
(TIP: If you’re using a very thin/loosely woven, light colored fabric, you may want to give your pumpkin a quick coat of white or gray paint first so that the color of the pumpkin doesn’t show through your fabric!)
Let it dry, reattach the stem (I poked a hole for the stem in the middle of the pumpkin with a pencil first), and add some embellishments, if you want – I used a brown paper leaf and some twine. Then, make a few more with some different fabric!
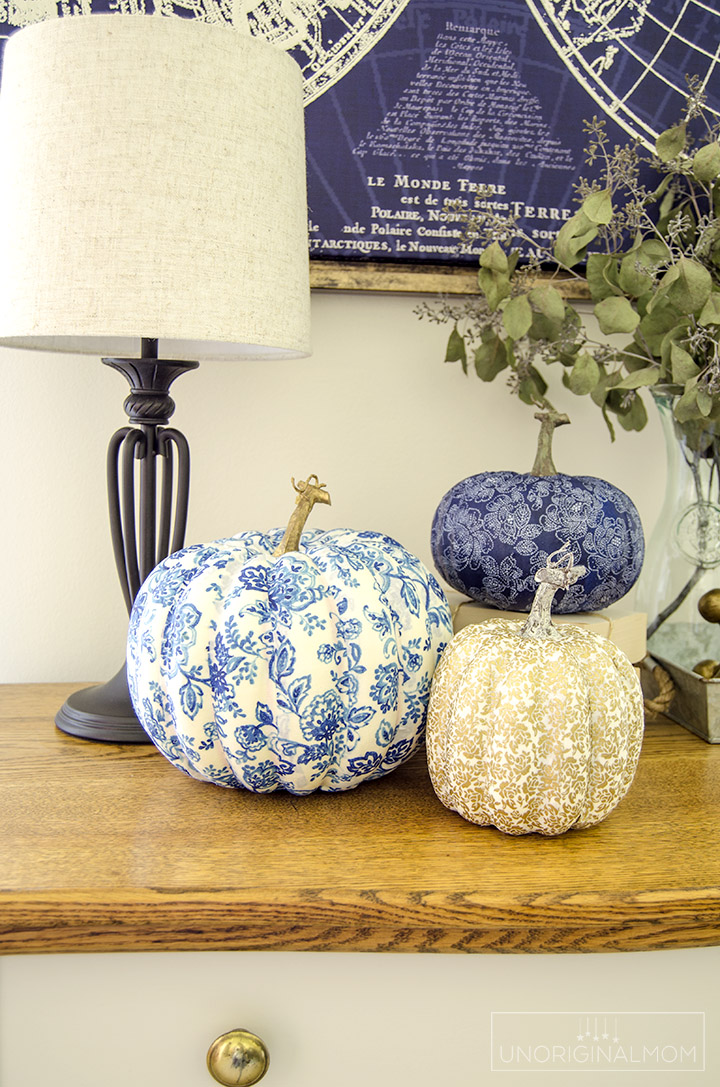
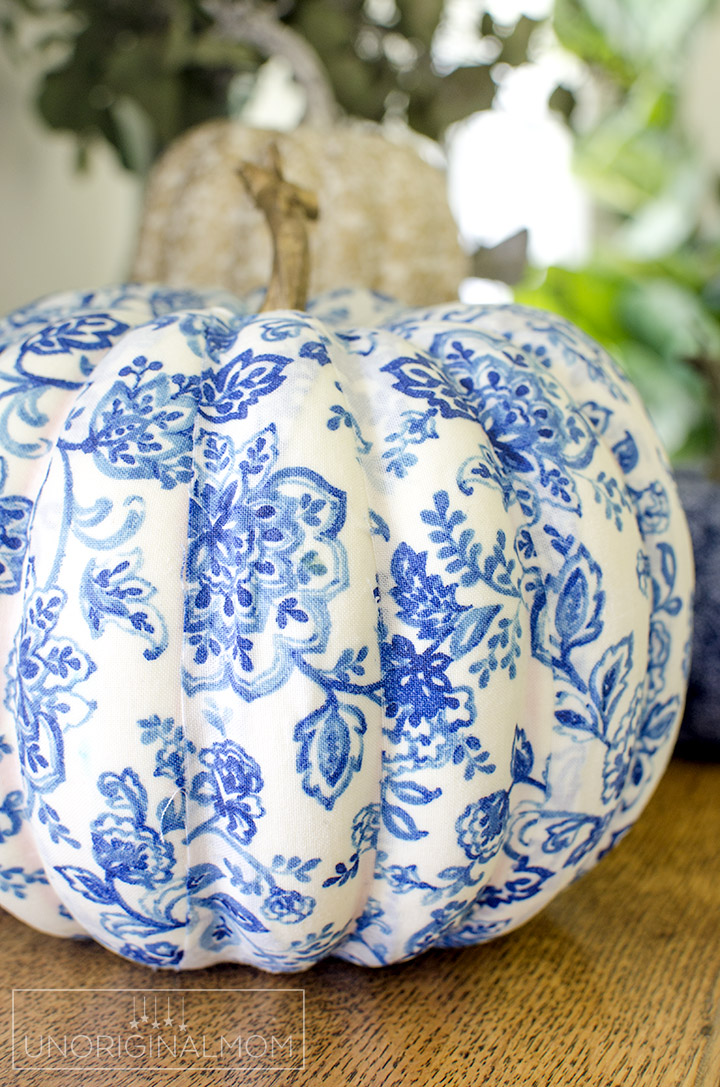
I found that medium-light weight fabric without geometric patterns works best. If I’d tried this with a plaid fabric, or something like that, it would be very easy to see each individual strip of fabric. (I ended up not even trying the herringbone fabric that I got, because it was a little heavier weight and I didn’t think it would lay very well.) But with the fabric I used, once you take a step back you can’t even tell that it’s made out of fabric strips!
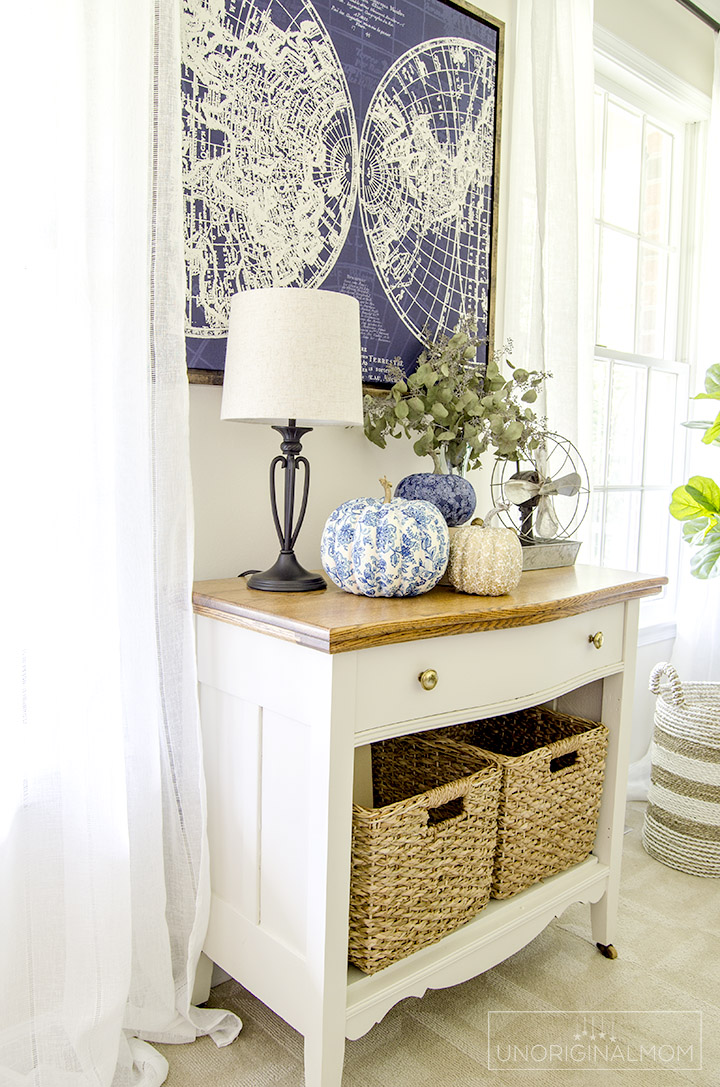
They go perfectly in my piano room with that blue map, don’t you think? Just a little subtle suggestion of fall.
Here’s a quick video so you can see how easy it is to put together these fabric covered pumpkins:
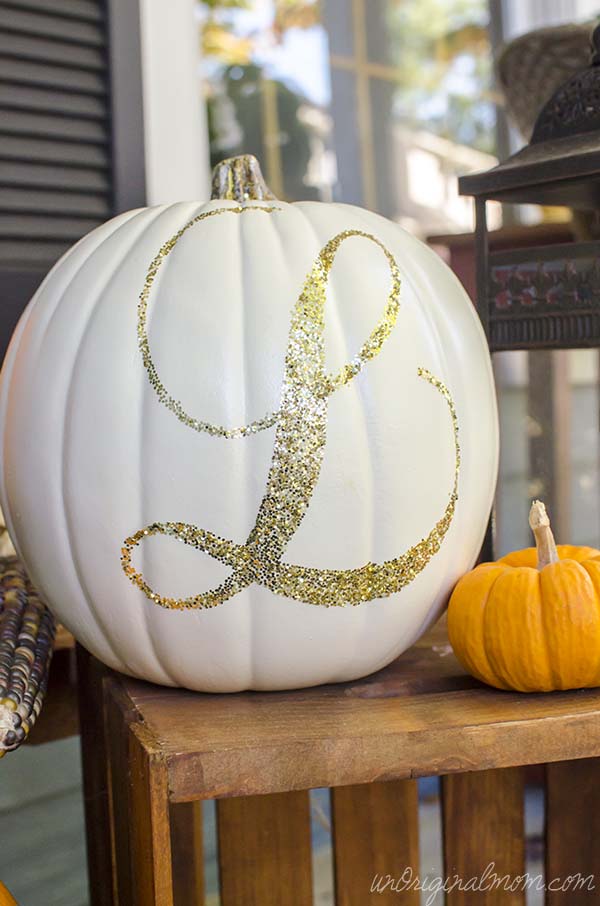
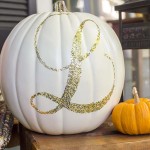
Looking for some more pumpkin crafting ideas? Take a look at this rustic glam Glitter Monogrammed Pumpkin…
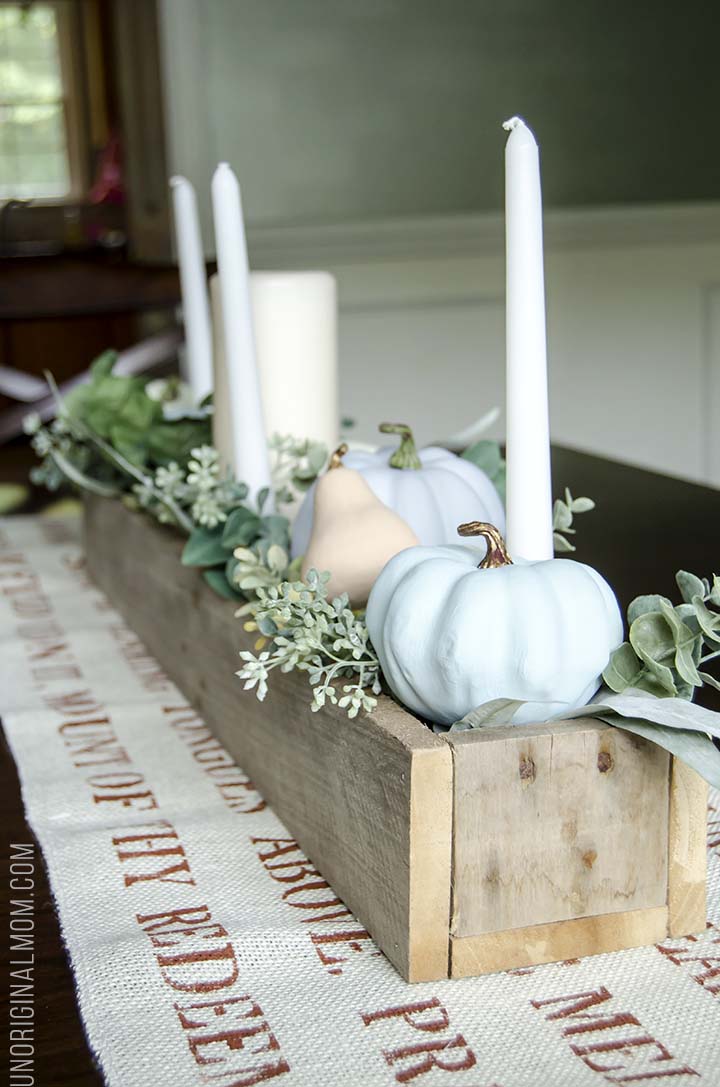
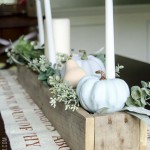
…or these chalk-painted pumpkins I made into a simple and beautiful fall centerpiece.
Happy crafting!


Get your copy of my FREE meal planning binder!

Sign up to get a free copy of my meal planning system - an 11 page printable meal planning binder, complete with a pantry inventory, shopping list, and more to help get on top of your menu each week!



LOVE these pumpkins! Can you give us a general idea of how much fabric you used and what size your pumpkin was? Thanks so much!
Thanks Camille! I bought 1/2 yard of each of the fabrics and that was more than enough…I probably used about 1/4 yard on the largest pumpkin (the white with blue flowers), and that one is close to 9 inches tall. Hope that helps!
I absolutely love ❤️ the fabrics you picked. Blue and white is one of my favorite color combinations. I also enjoyed using the new Joann’s app. this weekend. Having your coupons on your phone is a great convenience, I would often leave my paper coupons at home. Thank you for sharing your talent with us.
Thanks so much, Maureen! I love blue and white too, it’s so classic. And oh, if I had a dollar for every time I had left my clipped JOANN coupons on the counter…haha. I will be saving a lot of time and sanity (and $$) with the new app too! Thanks for visiting! <3
I loved this! We just happened to see this after we saw fabric pumpkins in a store. My daughter asked so politely if she could have one. I saw the price tag and my jaw dropped. I told her that we would have more fun choosing our fabrics and making our own. We made one for less than $2 from a dollar tree pumpkin and a Halloween themed fat quarter that she picked out. We still have half the fabric left for another for Grandma’s house. Thank you so much for sharing this.
Oh, wonderful, I’m so happy to hear that! It’s so fun to be able to customize these however you’d like. I’m glad you enjoyed it, thanks for sharing!!
I am excited to try this. Do you think it would help the fabric form to the pumpkin shape if I cut the strips on the bias?
Hi Marlene, yes it probably would help a bit! Though I didn’t have much trouble so it’s not completely necessary.
I have wrinkles and I can’t get out what am I doing wrong?
Hi Frankie, I had to work at each strip and stretch it a little and press down the sides to work out all the wrinkles, and sometimes I had to add some more mod podge. I found that narrower strips worked better, too. You’ll definitely have some wrinkles and folds on the bottom of the pumpkin, which will never be seen, but you should be able to work *most* of them out around the sides. I did end up with a few wrinkles on mine but they’re barely noticeable at all.
[…] When it comes to DIYing, Mod Podge is your best friend. As you can see, it allows you to turn a set of faux pumpkins into timeless decorations. […]
Your pumpkins look beautiful and you made it look so easy. I thought it was actually a pretty tough project. I had a lot of trouble getting the wrinkles out. My pumpkin looks very bumpy. I think a kindergartener’s art project would look better than mine.
I’m sorry it didn’t work out for you Laura! I did find that the wider my strips were, the harder it was to get them smooth…so maybe try narrower strips? Or maybe it was the kind of fabric? I imagine thicker fabric would be trickier to work with, I used a thin cotton on mine. I also took time on each strip to stretch it and smooth it with my thumbs, adding more mod podge underneath and over top of the strips as I went. As long as I went slowly, I didn’t find it to be that difficult. My pumpkins do have a few wrinkles but as you can see from the photos, once you are more than a foot away from them they aren’t noticeable at all.
Love this! Would paper napkins (printed) be too thin to decoupage on the pumpkins ?
You could totally use napkins! I’ve seen people use scrapbook paper and it works well. Of course, without the stretch of the fabric you’ll likely end up with more wrinkles but they’re not that noticeable from even a small distance.
[…] browsing on Pinterest, I fell in love with these fabric-covered craft pumpkins from Unoriginal Mom. She simply cut strips of fabric and use Mod Podge to create gorgeous […]
[…] own fabric, you could use these for everyday decor, to coordinate with your home furnishings. Click here to go to the Unoriginal Mom blog, and get the instructions to craft these […]
Cute project! Where did you get the leaf from?
I just cut one myself out of brown card stock! Nothing fancy.
[…] DIY Fabric Covered Pumpkins […]
I love this idea…thanks so much for sharing! Shared your link on my FB along with my pumpkins😊
Our ladies church group is making this tomorrow!
Can’t wait!
These are beautiful! What a wonderful idea!
[…] possibilities for color and pattern and a good use for scraps from other projects. This trio from Unoriginal Mom uses leftover quilting fabric and faux […]
[…] Pumpkins by Anika’s DIY Life Succulent Pumpkin Topiary by Lydi Out Loud Fabric Pumpkins by The Unoriginal Mom Wood Porch Pumpkins by DIY Beautify Cinderella Inspired Fabric […]
I made my first fabric covered pumpkin yesterday and the orange color of the pumpkin bled through, my fabric background color is white. Should I spray paint my orange pumpkins with white paint?
Did you have this problem?
Oh, bummer! No, I didn’t have that problem but my fabric was pretty tightly woven. Yes, I’m sure giving the orange pumpkins a quick coat of white paint would do the trick! I’ll update my post to warn people using thinner lighter colored fabrics that they may want to do that. Thanks for sharing – hopefully we can save someone else the trouble!
[…] The YouTube video using a paper mache pumpkin up above shows one way, and this tutorial from Unoriginal Mom shows another […]
HI, Meredith!I absolutely love these pumpkins! Do you think scrapbook paper would work instead of fabric? Any hints or tips would be wonderful, thank you!
Yes, I definitely thing it would work! I’ve seen other bloggers make beautiful decoupage pumpkins, and you could probably find a tutorial on that somewhere. I would guess that paper will be a little less forgiving with creases and folds, since you can’t stretch paper the way you can stretch fabric, but I think it would still look lovely! Let me know how it works out if you give it a try.
[…] Unoriginal Mom: Fabric Covered Pumpkins […]
[…] This fabric-covered pumpkin tutorial from Unoriginal Mom has me looking for pretty blue and gold fabrics everywhere I go. This project […]
[…] I’ve never used fabric to decorate a pumpkin ~ to decoupage a pumpkin, […]
[…] I discovered Meredith of Unoriginal Mom‘s fabric-covered pumpkin project last week, I knew I wanted to make my own version of a DIY fabric-covered pumpkin for a few […]
Great tutorial. Did you use plastic or foam pumpkins?
Foam!
Did you ever do this with foam pumpkins or just the plastic-y type from dollar store. Wondered if this would work with the more substantial foam pumpkins? Awesome instructions. Thank you.
I didn’t do it with foam pumpkins, but I don’t see why that wouldn’t work!
[…] Source: Unoriginal Mom […]
[…] that I’m sharing today. I was inspired by the look of these fabric-covered pumpkins on unOriginal Mom, but decided to make decoupage pumpkins with napkins instead. I had some blue and white damask […]
[…] DIY Mod Podge Fabric Pumpkins […]
I completely resonate with your sentiment about the transition from summer to fall – it’s a bittersweet shift in seasons. Your approach to gradually incorporating fall decor is thoughtful. The idea of using fabric-covered pumpkins as a subtle nod to autumn sounds charming. The blue fabric you chose is indeed stunning and adds a unique touch to the traditional fall palette. Great creativity!
I love this idea! The DIY fabric covered pumpkins sound like a great way to ease into fall decor. I’m with you on the bittersweet feelings about the season change. Can’t wait to try making these with the blue dot fabric!