This post contains affiliate links – click here to read my full disclosure.
This “make your own garland” project was completely and 100% inspired by this post by Kelly at View Along the Way (LOVE her blog!) She shared her AWESOME idea of how to take cheap-o fake garland and beef it up with real tree clippings – she had access to some other types of greens besides just the Christmas Tree clippings and it is simply stunning!
SUPPLIES:
- cheap fake garland (I got mine at Walmart – find something similar on Amazon here)
- pruning shears
- floral wire
- evergreen branches (usually available from a tree farm for free)
- optional – other embellishments like berries, pinecones, bows, etc.
This couldn’t be much easier! Essentially, you’re just using the cheap-o ugly garland (mine was $2 at Walmart!) as a base for the real stuff. So instead of starting completely from scratch with your tree clippings, you have something already there to wire them to…plus it really helps it all look much fuller.
The first step is to find some greenery. At the tree farm where we cut our Christmas tree, they have a ginormous pile of branches that are cut off the bottom of the trees before being baled, and people are welcome to take as much as they want! I’ve heard that places that sell pre-cut trees (Lowes, Home Depot, etc.) also have similar piles that are free-for-the-taking!
Then, use pruning shears to cut them into manageable pieces. You really don’t need huge branches – in fact, I found the smaller sizes a bit easier to work with and get to lay the way I wanted.
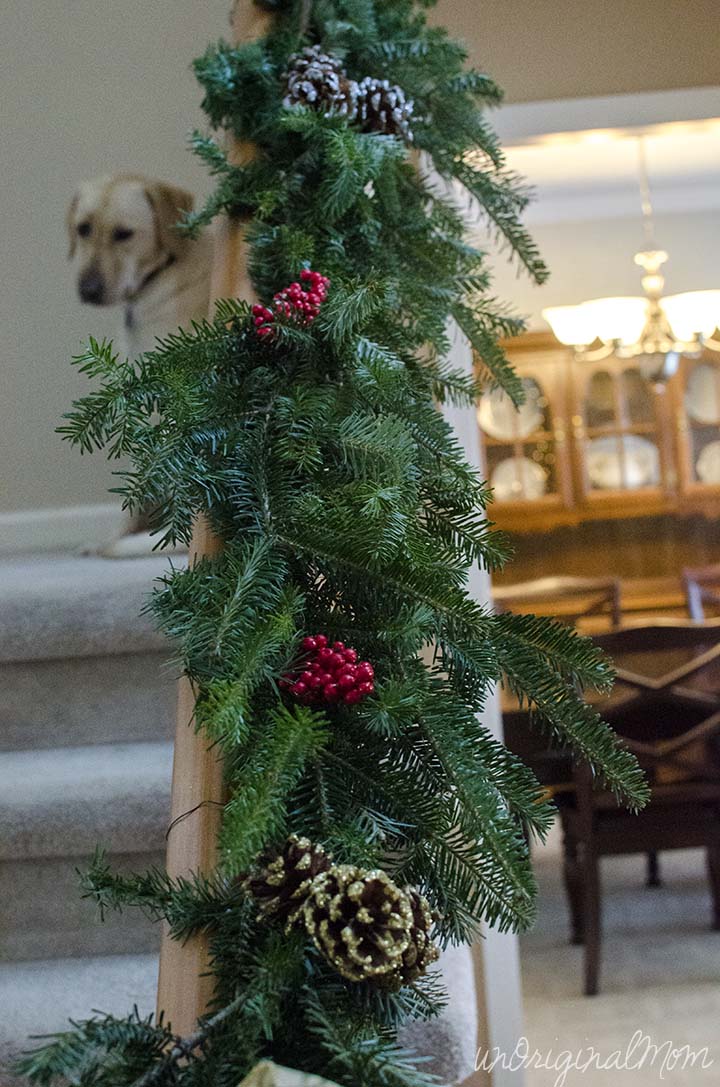
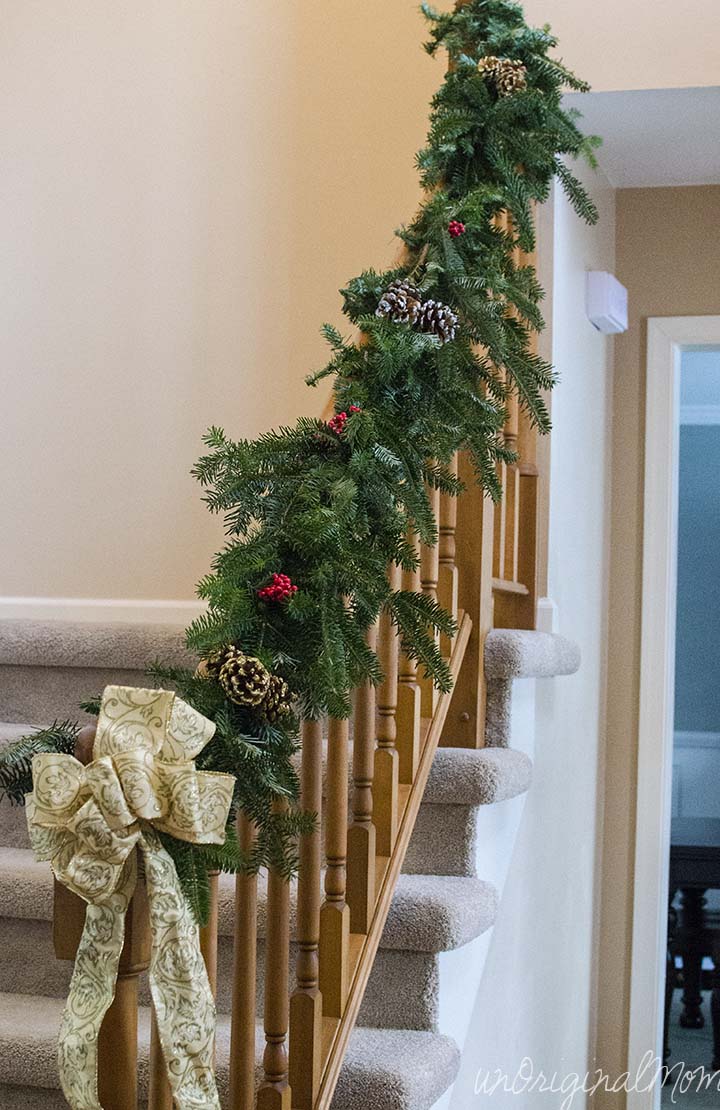
First, attach your fake garland to the banister (or wherever you’re hanging your garland) with floral wire. Then take your fresh greens and start attaching them! I started at the top of the staircase and worked my way down (I don’t think there is a right or wrong way to do it, just how I decided to start!) and attached a branch with floral wire. Then I took a new branch, tucked the end of it underneath the first one, and wired that. After that, just let your creativity guide you! (Really, it’s pretty hard to mess up – if I can do it, you can too!) Keep laying on those branches until you get the fullness you want.
(Doggie photo bomb…hello Lucy!)
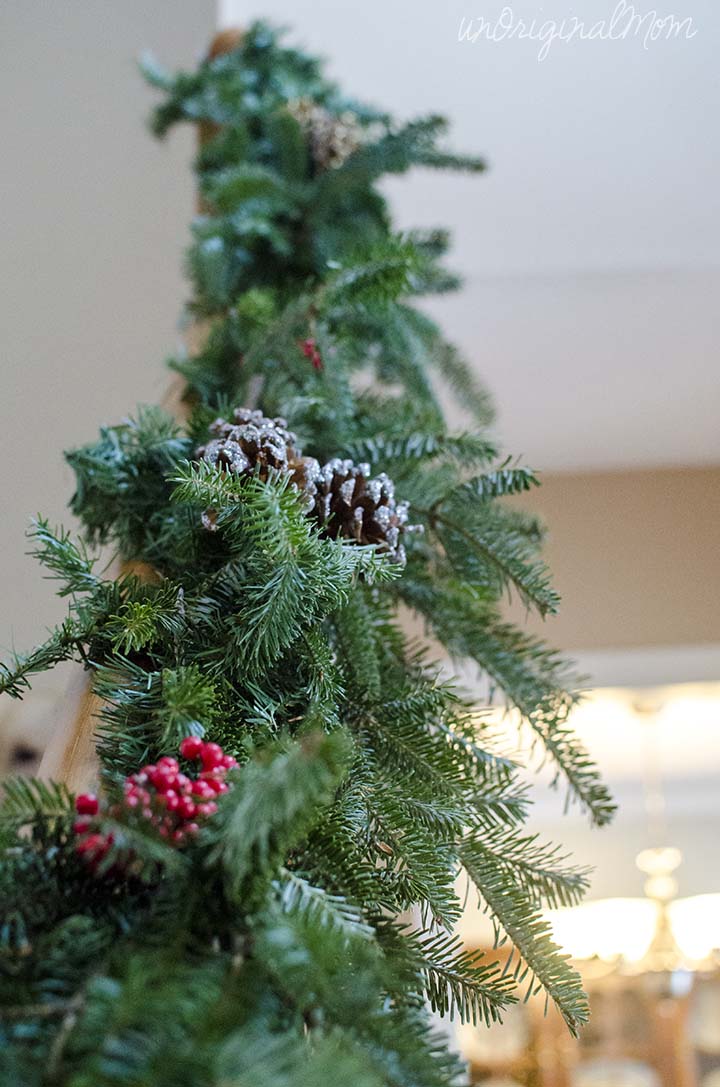
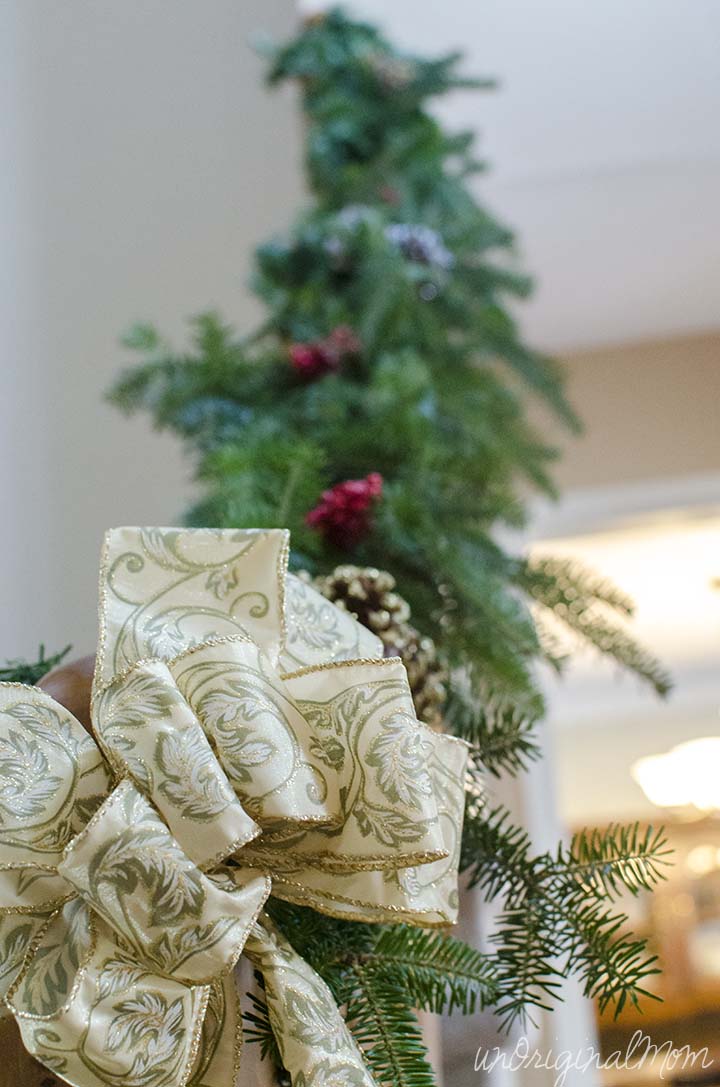
I had stocked up on some wreath embellishments at Michael’s when they were 50+% off, so I added some of those – glitter pine cones and red-foam-berry-thingies. I also had a big gold ribbon from last year’s wreath that was the perfect finishing touch for the bottom of the banister.
I wish I had a wider angle lens to show how the garland looks in the big 2-story foyer of our new house, but you’ll just have to take my word for it when I say it is beautiful! I could only fit half the staircase into a photo, but I actually used two strands of $2 garland – one for each section of banister. So, $4 total for the garland!
I have always wanted a big staircase for this very reason – to decorate with garland!
(Note: You could do this with more expensive garland or even the pre-lit stuff – but I am thinking it will be much easier to just throw the whole thing out at the end of the season rather than try to remove all of the brittle old evergreens, so I’d rather use the cheapest stuff.)
You might also like…
Christmas Photo Booth Props (with free cut file for Silhouette users!)
Christmas Card Ornaments – upcycle those beautiful Christmas cards from last year that are just sitting in a box.
Do you decorate with fresh greens in your home? How do you use them?
This post contains affiliate links – click here to read my full disclosure.


What if you MADE your Christmas gifts this year instead of buying them? Find out how to set yourself up for success in your Handmade Christmas journey - plus get a free printable gift list planner!


Love this!! I finally put our garlands up on our front porch, and I have some leftover that I was thinking of putting on the bannisters. I’m definitely going to add real branches, though. I can just imagine the smell! Mmmmm… Christmas!
Merideth, this is absolutely beautiful! What a great idea! When I was a small child, I had many allergies. Therefore, I was never able to enjoy real greens in my home at Christmas time. Now that I am grown and (mostly) have my allergies under control, I am looking to try something like this. Probably won’t happen this year, but maybe next… :) Thanks for the inspiration!
It looks great! I love the embellishments you added too!
Makes me miss our old house in So. Ca where we had a banister for me to decorate, so much fun. Every year I did something different. Your banister looks so pretty, love how you combined embellishments and extra real branches to fill it out. Way to go. It’s so much fun figuring out how to enhance what you have, coming up with ideas, seeing how to make them work. You’ll have so much deciding what to do next year. You did a wonderful job, how wonderful to have a new house to decorate. Hope your holiday is healthy and happy as can be. Merry Christmas
Beautiful, but how do you keep the sap from getting on everything?
Hi Peggy, I actually don’t recall having much of an issue with sap last year. Maybe it’s because the clippings sat on my front porch for a week or so before I used them, so they weren’t freshly cut? I also used smaller clippings of the branches, so I wasn’t dealing with the larger branches that tend to be more full of sap.
Did you have a problem with “shedding” of the needles? I used real clippings in the past and the cleanup was terrrrrible!! Any tips?
Yes, I think it’s probably unavoidable :-/ I’ve heard you can spritz the greens with water and that helps them to not dry out so quickly, but I haven’t tried it. I just put the branches into a garbage bag and then vacuum up all the needles on the stairs – definitely messy but not that hard to clean up as long as I keep my kiddos from walking through and tracking needles everywhere, haha.
Hello,
Popped in from Pinterest. Enjoyed your tutorial. Great way to use the trimmings from trees and your own yard instead of straight into a burn pile, compost pile or heaven forbid, trash. My only cringe was when you said you’d dump the whole thing because you only spent a few bucks. I get that. I know folks are busy. I know it takes time to keep things “company” ready and who has time to pull out all those individually wired branches, right? Except that there a number of reasons not to just dump the whole thing.
Landfill issues
Throwaway society
Recycling/reusing
I won’t belabor the point. It was not intended to be an affront to your methods, your person or anything else. I am just hoping you will consider a mindset from your grandparents or great grandparents generation. “Use it up, wear it out, make do, or do without.” You started on the right path. Making a beautiful home for your family and friends while staying on a budget. That is awesome. Really commendable. Just finish out the idea. Take it apart at the end of the season. Save the florist wire for next year along with the cheap-o garland. Show your family…children that is, what it is to be frugal and to care about the planet…their inheritance, at the same time.
Truly, not meant to be harsh or critical…just thoughtful. Please accept it in the spirit in which it was shared.
Thank you for your kind consideration,
A Random Reader
I agree a great idea apart from the advice to just bin the whole lot at the end of the season. Not good for the environment, let’s all try to be more thoughtful and spend that little bit of time removing the adornments so we can reuse materials the following year. My cheap-o garlands have been reused for five years now and are still going strong. I use fresh Christmas tree clippings combined with adornments which I have collected over the years, so each year it looks a little different. Remember, just because it’s cheap, does not mean you can just chuck it away.
[…] this tutorial will help you overcome. All you need is cheap garland, a few evergreen sprigs, and you’re on your […]
How long did the fresh greens last?
We usually get our tree the weekend after Thanksgiving, so the greens are fresh cut then…but they stay outside in the winter temperatures for about a week after that until I get to my garland. They’ve always stayed green until I take them down around New Year’s, though by then they’re pretty dry and brittle.
[…] Make Your Own Garland for Less Than $5 from The Unoriginal Mom […]
Thanks for sharing this great idea to use fresh greens. I’m going to try it out this Holiday season.
Instead of wire on wooden railing I put wired ribbon and tied the garland in to the staircase and make bows. It’s dual purpose. Love it
Smart idea!!
[…] Make Your Own Garland for Less Than $5 from Unoriginal Mom […]
[…] Giant Christmas Ornaments DIY Christmas Ball Decorations from Smart Schoolhouse Blah to BAM Garland […]
[…] Giant Christmas Ornaments DIY Christmas Ball Decorations from Smart Schoolhouse Blah to BAM Garland […]
[…] to give you inspiration as to how you could go about it using a cheap pre-bought garland as a base, see here! If you aren’t after a big project but still want to get creative then grab thread and some […]
[…] Image Source/Tutorial: Unoriginal Mom […]
What a brilliant idea to enhance cheap garland with real tree clippings! I love how practical and budget-friendly this DIY project is. The step-by-step instructions make it seem so doable for anyone looking to spruce up their holiday decor. Thank you for sharing this creative and festive inspiration! Can’t wait to try it out myself!
This “make your own garland” project sounds amazing! I love how it takes inspiration from Kelly’s blog. Using cheap fake garland as a base is so clever. It’s great that evergreen branches are often free at tree farms. Can’t wait to try this! 🌲🎄