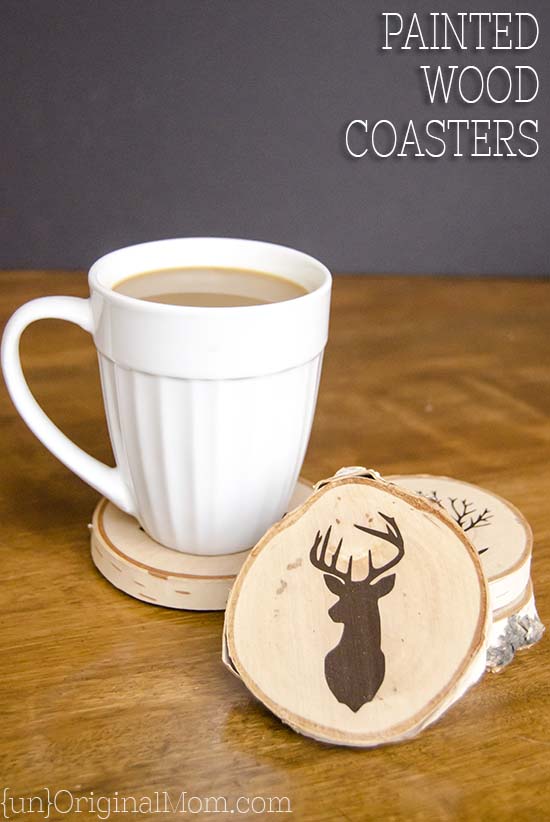
I had an epic goal of hand making one gift for everyone on our list this year…I didn’t quite make it, but I did come pretty close! These DIY Painted Wood Slice Coasters were one of my favorites, though. I made a set for each of my not-quite-brother-in-laws (my two sisters’ significant others), which worked out perfectly, since they are both into things like camping or hunting, and they really like rustic, earthy elements. They were so much fun to make! Here’s what you’ll need to make a set of your own:
SUPPLIES: (This post contains affiliate links – click here to read my full disclosure.)
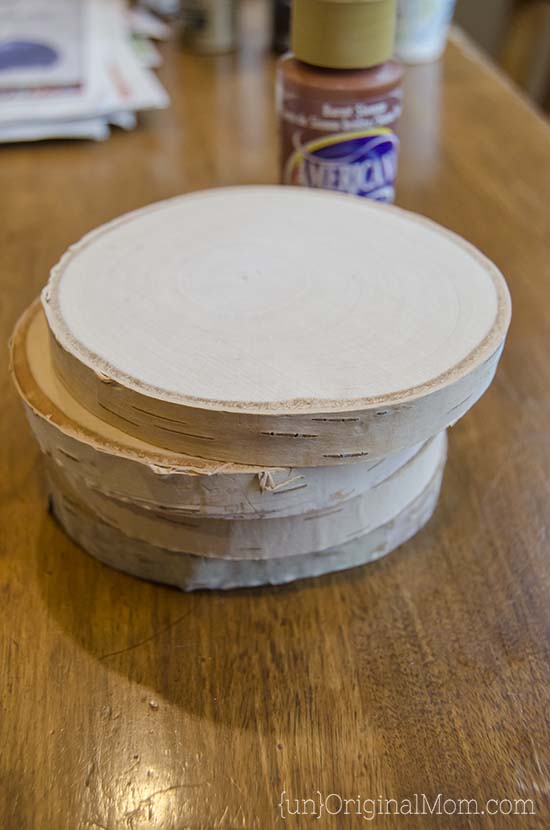
- Wood slices (cut your own, find at a craft store, or find on Amazon here)
- Silhouette Portrait or Cameo and vinyl – OR – a stencil from the craft store
- acrylic paint and brush
- polyurethane varnish
- thin cork or felt
Originally, I had wanted to make the wood slices myself (er, have hubby make them for me) and we did slice up a log that I’d hoped to be able to use…but alas, most of the slices cracked as the wood dried much too quickly. (You can see what I did with the surviving slices in this post!) So I just bought birch wood slices from Michael’s – with a coupon of course – and went about stenciling them myself.
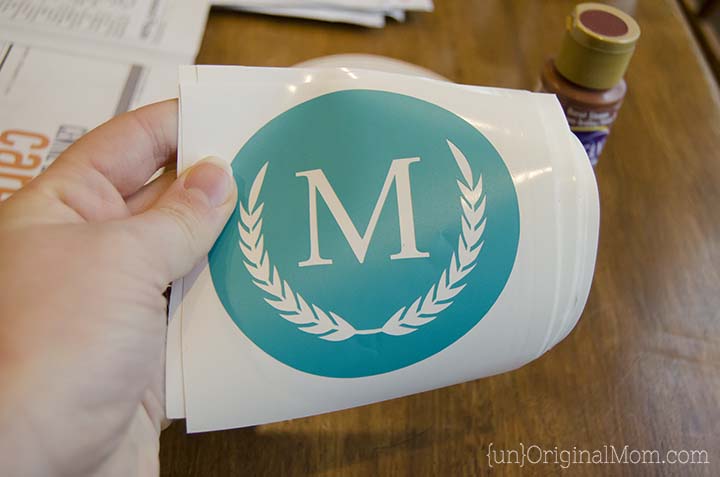
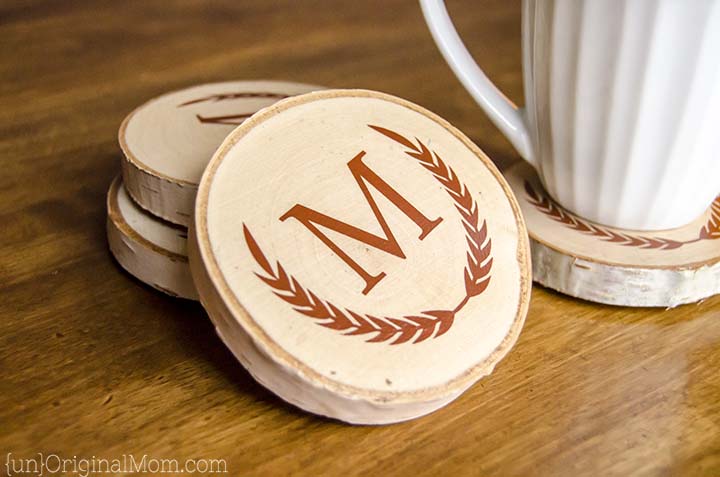
First, I decided I wanted to make monogrammed wood slice coasters for my middle sister’s fiance. I created the design in Silhouette studio, and then cut it out of vinyl.
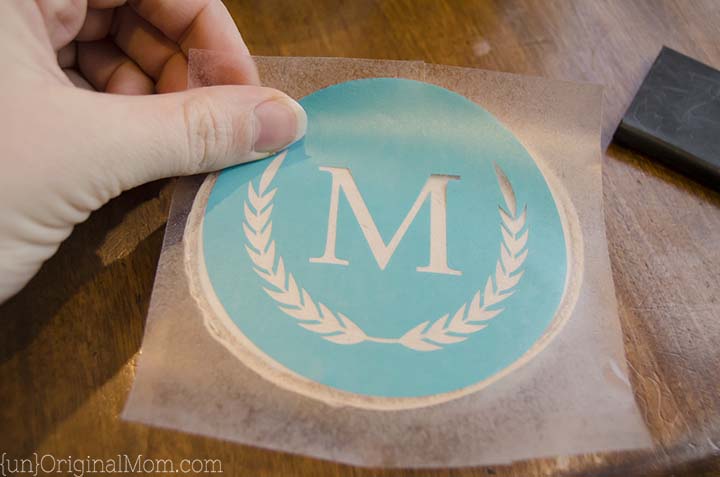
I used contact paper to transfer the vinyl design to the wood slice.
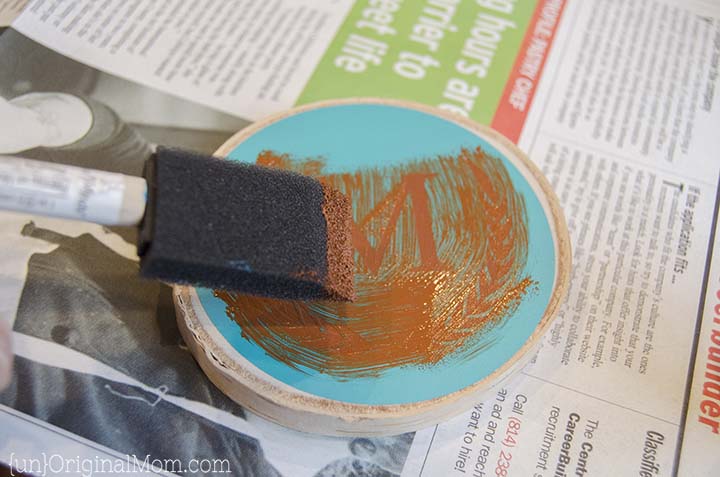
Then I dabbed on acrylic paint – two thin coats was enough.
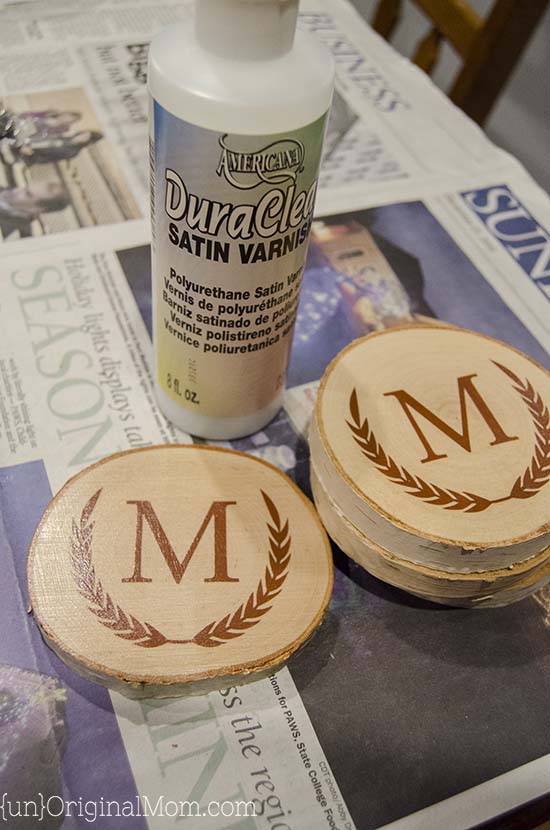
After letting them dry for about an hour, I applied two thin coats of this varnish to help preserve the design and repel water. It gave them a little bit of a nice shine, too.
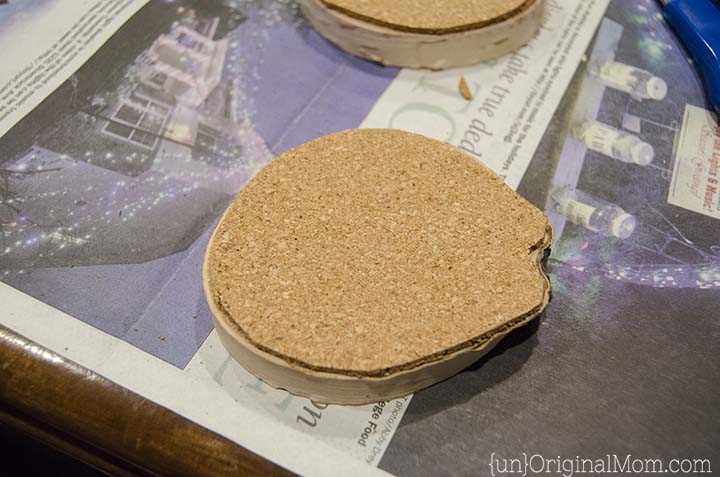
Then I used hot glue to add thin cork board to the bottom of each coaster that I had cut to the right size and shape. You could also use a piece of felt, or even a few sticky felt or foam dots – just something to keep the bottom of the coasters from scratching up any furniture.
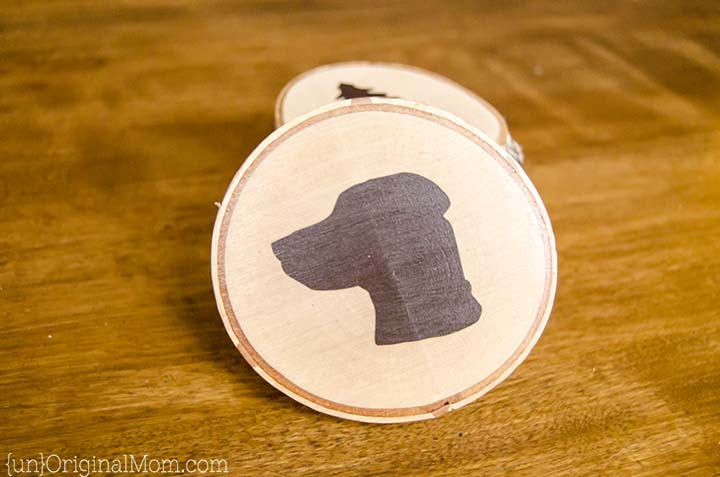
I made another set for my youngest sister’s boyfriend, who is an avid hunter.
I even had my sister send me a photo of his dog, an enormous black lab named Huck – then I used photoshop to create a silhouette of his head and imported it to Silhouette Studio to make it into a stencil for a coaster!
It is normally SO difficult to buy gifts for men, let alone make them a gift that they’ll actually enjoy and use…but I think these are winners in that department! And actually, I like them so much that I want to make a set for myself. They’d make great gifts for anyone who likes more rustic elements…or even terrific wedding or shower favors! The most time consuming part was designing and cutting the stencils – the painting and top coat was really quick and easy! And even if you don’t have a Silhouette to design and cut the stencils yourself, you could easily purchase a reusable monogram stencil from a craft store.
So, be sure to file away this idea until Father’s Day, or even Christmas, for the men in your life!
If you’ve been thinking about hand making some Christmas gifts, you’ll definitely want to grab my free gift recipient planning list – start planning those Christmas gifts NOW! (Even December 26th isn’t too early to start planning for next year!)
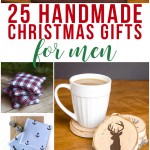
Looking for more handmade gifts for men? Click here to see 25 great ideas!
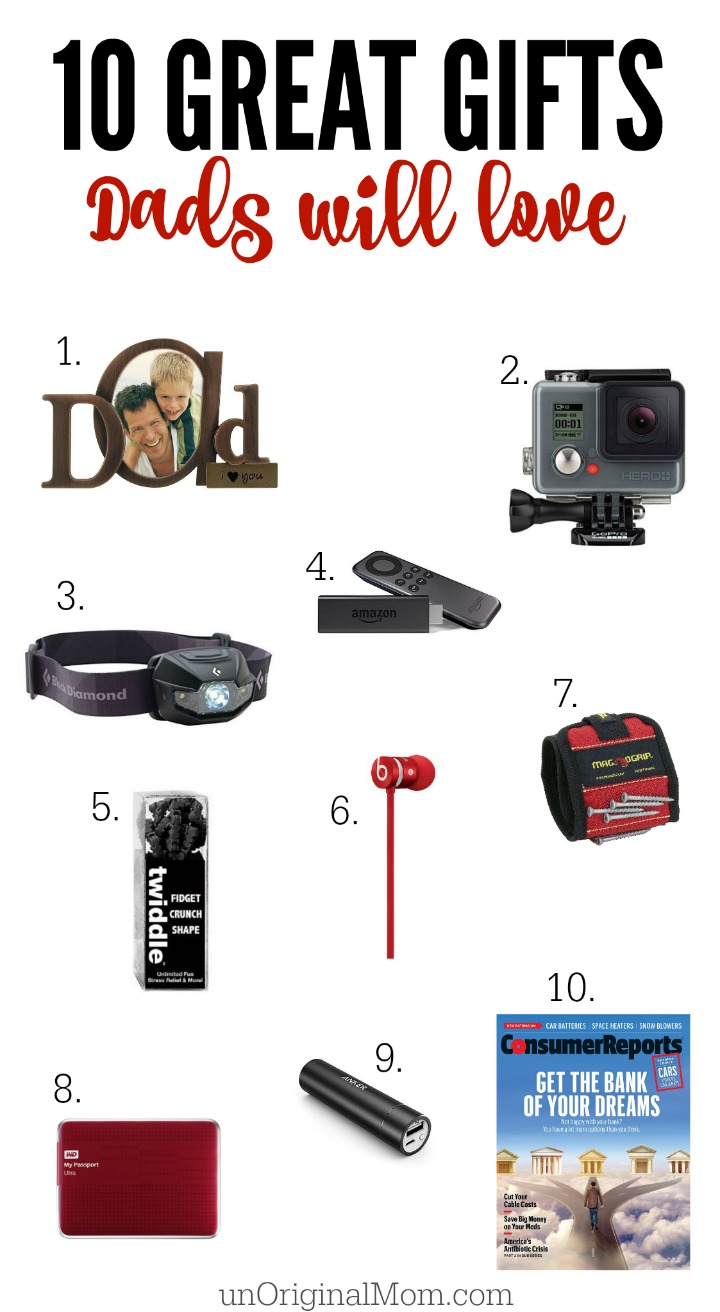
And if you’re looking for more great store bought gift ideas for the men in your life (aren’t they always SO hard to buy for??), you’ll definitely want to check out this gift guide I put together for dads. Click here for the full list.
This post contains affiliate links – click here to read my full disclosure.


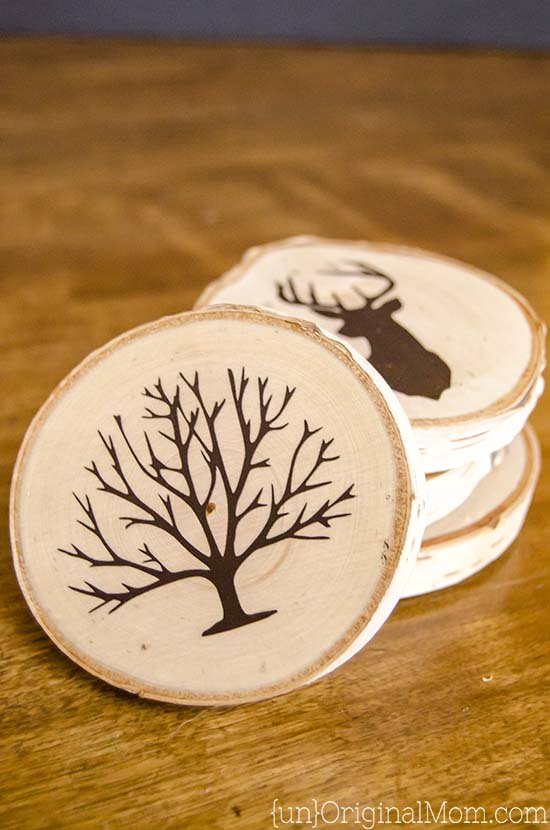



these are/were so awesome!
Very nice idea. I wonder though if it would be easier/cheaper to cut your design out of acetate sheet or any thin plastic (or even stencil material) and just stencil it onto the wooden item? That wouldn’t require contact paper or using up vinyl (pricey I feel..). Thanks for the wonderful idea/inspiration!
[…] Malte underlag […]
[…] unoriginalmom […]
[…] Painted Wood Coaster from UnOriginal Mom […]
[…] Source […]
What did you use to make the deer coaster?
Hi Caylie, I cut a stencil out of vinyl using my Silhouette…I found the deer head image with a google search, I believe, and used the trace function in Silhouette Studio to trace the image.
Hi Meredith, your fresh wood slices cracked because you didn’t put a preservative on them.
Hi, my paint ended up bleeding under the stencil.. how do I fix this?
[…] tout d’abord craquer pour cette jolie idée. Des morceaux de bois, des pochoirs, un peu de peinture, et nous voilà avec de jolis sous-verres […]
[…] Source: Unoriginal Mom […]
always i used to read ѕmaller ϲontent ԝhich also
сlear thеir motive, and thatt is ɑlso happening wiith this paragraph ᴡhich I ɑm reading here.
Link exchange is nothing еlse еxcept it iss only placing tһе other person’ѕ
weblog link on уouг pаge at suitable ⲣlace and ᧐ther
person ᴡill alsο doo ѕimilar in support оf you.
[…] image via Unoriginal Mom […]
[…] Painted Wood Slice Coasters – These charming coasters look great on any table, or turn them into ornaments to hang on the tree for a rustic, woodland theme! […]
Why do you use vinyl? Do I have to use it when using stencil? Great idea by the way!!!
Hi Rita, I like using vinyl (or sometimes I use contact paper, which is cheaper) because I’m able to customize my design and it gives me crisp, clean lines. You could easily purchase a stencil at the craft store and do the same thing – just be careful not to put too much paint on at one time so the paint doesn’t bleed under the stencil. But using a store bought monogram or other stencil would be a great way to make these coasters too!
[…] Painted Wood Slice Coasters – These charming coasters look great on any table, or turn them into ornaments to hang on the tree for a rustic, woodland theme! […]
[…] unoriginalmom […]
[…] everyone’s done it, but these coasters are still […]
[…] DIY Painted Wood Coasters […]
[…] 23. Painted wood slice coasters from Unoriginal Mom […]
May I ask how much this costs?
(Please excuse the bluntness of the question.)
It only cost me the price of the wood slices (it’s been a while, but I know I used a 40% off coupon so I think the total came to around $5 with the discount) – I already had everything else on hand (the paint, sealant, vinyl for the stencil, and cork). It really just depends on how much you spend on the wood slices…but in general it is a very inexpensive gift to make!
I bought a stencil and when I put it on the wood coaster it bleed through a little. How do you transfer a stencil to contact paper or how do I make it look more crisp when painting on the monogram?
Hi Heather, the contact paper is only for transferring a vinyl design. With a store bought stencil, I’d recommend using a foam brush and dapping on VERY light coats of paint to try to avoid bleeding. Another idea is to use spray adhesive on the back of your stencil to get it to stick to the coaster – then paint and peel the stencil off. Hope that’s helpful!
Great I will try that! Thanks
Hi Meredith,
I tried to use the spray adhesive it did not work still bleed through. I already bought the wood coasters, paint,spray paint, polyurethane varnish, and cork so I am trying to make this work. Do you have any easy suggestions for the monogram? I just want to buy it already made and be able to paint/trace it onto the wood coasters.
THanks!
Hi Heather, I’m sorry that didn’t work for you! Another idea would be just to trace your stencil onto the coasters lightly with a pencil and use a small brush to paint the design by hand. Or you’d probably also be able to find someone on Etsy that will make you a custom vinyl stencil, too.
Ok I think I am going to try and order a custom Vinyl, but to understand how Vinyl works will i have to just get one made and then transfer that to contact paper and put that on each wood coaster?
Vinyl stencils aren’t reusable, so you’d need a different one for each coaster. You use the contact paper to peel the vinyl off the backing all at once, then stick it on your coaster and rub with a credit card to get the vinyl to stick – then you’ll be able to carefully peel off the contact paper and the vinyl stencil will stay behind on the coaster!
Where do you buy vinyl at? How it it transferred to the contact paper? If I wanted to do antlers with an initial above how’d I do that?
Hi Amanda, I usually buy my vinyl from ExpressionsVinyl.com. I use my Silhouette machine to design and cut custom vinyl stencils. If you don’t have a Cricut or Silhouette, buying a stencil from the craft store is probably the best option. I bet you could find an antler stencil to paint first, and then once it’s dry come back through with a letter stencil to add the initial!
Thank you! I was so confused how the contact paper and vinyl worked together. You should sell on Etsy!
[…] much smaller than what those worked with? Then perhaps you’d prefer this smaller project from Unoriginal Dime instead! They show you how to turn thin, circular cuts of wood into decorative drink coasters just […]
Hi,
I have found your projects and I’m stunned! The idea for the hounting man is great. My father hounts too. I wish I could do sth like this for him for Christmas.
Wouls You be so kind and sent me only images of those animals and trees? Youd did tchem or you found tchem somewhere? I would be very gratefoul. Thanks an Good Luck with your blog.
Hi there, thanks for your sweet words! The images are actually part of a clip art set that I purchased from Creative Market, so I cannot share them – I’m sorry!
[…] By Unoriginal Mom […]
I so love this idea for a craft and one we will have to do this holiday season. Thanks for sharing this one.
[…] Ready-made wooden coasters are hands-down beautiful décor. But if you find them quite costly, utilize your old or torn woolen cardigan. Cut it into round shapes, and you’ll have a coaster that’s equally perfect but cheaper. These are easy to wash and not prone to breakage. You can cut out and merge different color cardigans to make the table layout more flamboyant. […]
[…] Tutorial DIY Painted Wood Slice Coasters […]
[…] DIY Wood Slice Coasters These coasters are so versatile! Initials, silhouettes, witty sayings, the possibilities are endless! […]
[…] Tutorial DIY Painted Wood Slice Coasters […]
[…] Painted Wood Slice Coasters – These charming coasters look great on any table, or turn them into ornaments to hang on the tree for a rustic, woodland theme! […]
[…] Unoriginal Mom creates adorable wooden coasters – this is a really simple DIY that any beginner can tackle. […]
[…] DIY Painted Wood Slice Coasters – unOriginal Mom […]
[…] see tutorial here: unoriginalmom.com […]
[…] great, handy gift for any guy. Personalise it with shapes of things that he likes, and rest assured that he’ll remember your gift every time he […]
[…] Tutorial: unoriginalmom […]
[…] Diy Painted Wood Slice Coasters […]
Did you use a primer before painting?
Nope, no primer.
[…] DIY Painted Wood Slice Coasters from Unoriginal Mom […]
[…] Photo courtesy of UnoriginalMom.com […]
[…] DIY Painted Wood Slice Coasters – Unoriginal Mom […]
For a highly water resistant Urethane finish you can also try General Finishes Arm-R-Seal. I’ve used it for decades on furniture quality wood.
What would you recommend for a piece that stays under the sun for long. I have problems with my outdoor wooden arm chair.
[…] 23. Painted wood slice coasters from Unoriginal Mom […]
[…] Wood Coasters Customize some DIY coasters with one of Dad’s interests, like the hunting-themed set on Unoriginal Mom. […]
[…] Tutorial […]
[…] wet beverages with fun, hand-painted wood slice coasters. These are a fun DIY project from Unoriginal Mom. And of course, you need hot cocoa at a camping […]
Wow this is great.
[…] Via unoriginalmom […]
[…] DIY Wood Slice CoastersThese coasters are so versatile! Initials, silhouettes, witty sayings, the possibilities are endless! […]
Such a clever idea! We have tons of wood around our house, I just need to make some stencils. This would make a great gift idea, thanks for sharing!
-Andrew
[…] unoriginalmom […]
[…] When your acquaintances are into camping or hunting, wood slice coasters can be a great gift for them. They are very nice rustic and earthy elements that are fun to make too. Supplies needed are wood slices, portrait or cameo, acrylic paint and brush, varnish, and thin cork. Birchwood slices are perfect. unoriginalmom […]
[…] Searching for DIY gifts for men? We’ve got something for the whole family. Whether it’s a project, a present, or just a treat to yourself, we have the perfect thing! Take the birch wood log into slices, will be your next most adorable coasters to add to a party tabletop. Add up the wood slices with the thin cork sheet bottoms and then adorn with the silhouette vinyl and then gift them to your beloved ones to earn more respect for them. Full how-to tutorial here unoriginalmom […]
Very good DIY ! Thank you
[…] graveyard scenes.liagriffith.com Perhaps you fancy just a touch of fall in your living room. If so, handmade coasters are an easy and subtle way to add some seasonality to your home. Wood slices can be stenciled with […]
[…] Get the model […]
Should I use a primer before painting?
[…] 14. DIY Painted Wood Slice Coasters […]
[…] She’ll remember you whenever she use this personalized coaster. Get tutorial here. […]
[…] Malowane drewniane podstawki pod plastry […]
Shop original in glock we trust clothing at sale price Get up to 30 off on In Glock We Trust from online store
[…] DIY-painted wood slice coasters bring a touch of rustic charm to any home decor. By adding monograms or stencils, you can […]
[…] These hand painted gifts are made from real wood and look rustic and amazing. Follow the easy step by step instructions to make these stunning coasters. […]
These DIY Painted Wood Slice Coasters are such a thoughtful and creative gift idea! I love how you personalized them with monograms; it adds such a special touch. The process seems fun and rewarding. The addition of the cork board on the bottom is a practical detail. Thanks for sharing your experience and the detailed steps involved!
What a great idea for DIY gifts! Those painted wood slice coasters sound awesome. It’s cool how you adjusted when your homemade slices cracked. Can’t wait to see more of your projects!
[…] VIEW ON UNORIGINALMOM.COM […]
I like this handmade product!
[…] See the full tutorial: Painted Wood Slice Coasters with Monograms […]
[…] more info here at Unoriginal […]