
This post contains affiliate links – click here to read my full disclosure.
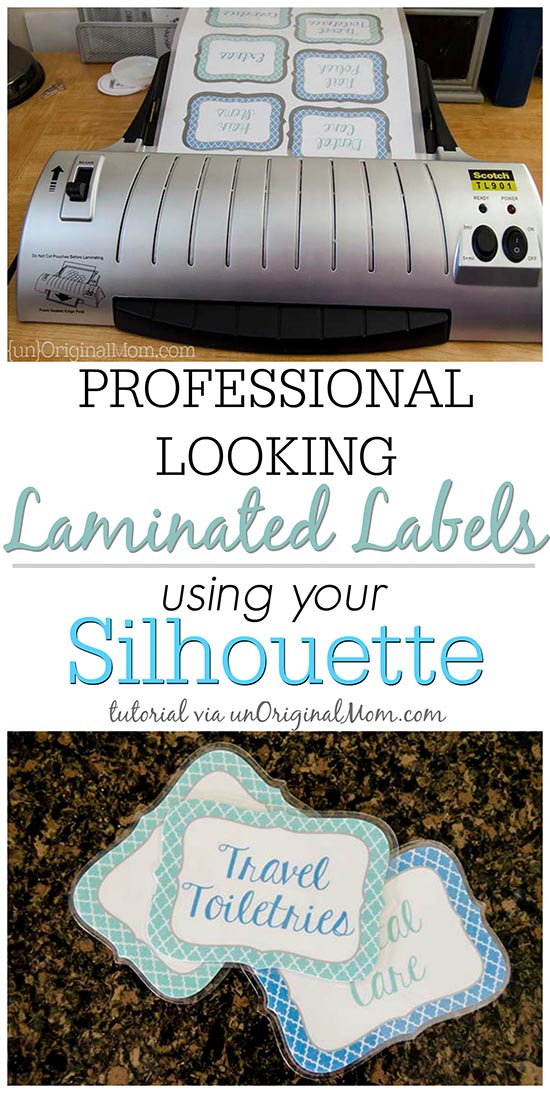
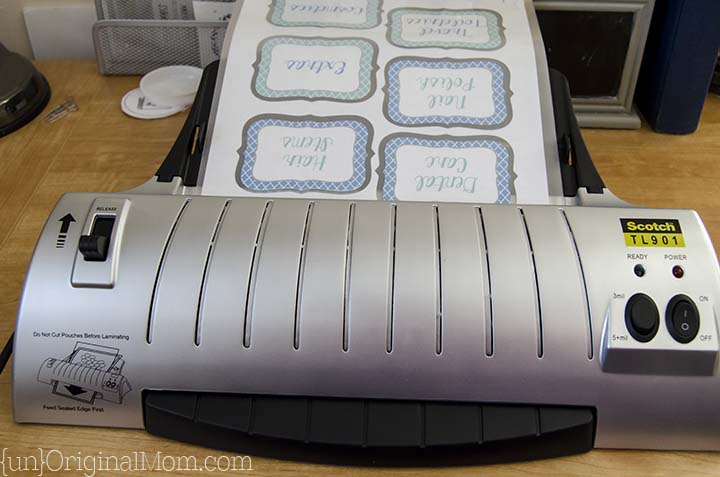
Did you know that you can use your Silhouette to cut laminated labels and other shapes?!? I wasn’t quite sure how or even if it would work, but I got this laminator for Christmas (yay for new toys!) and experimented a bit to find a method to create perfectly cut laminated shapes using my Silhouette. Want to know how? It’s a multi-step process, but stick with me and I’ll walk you through it!
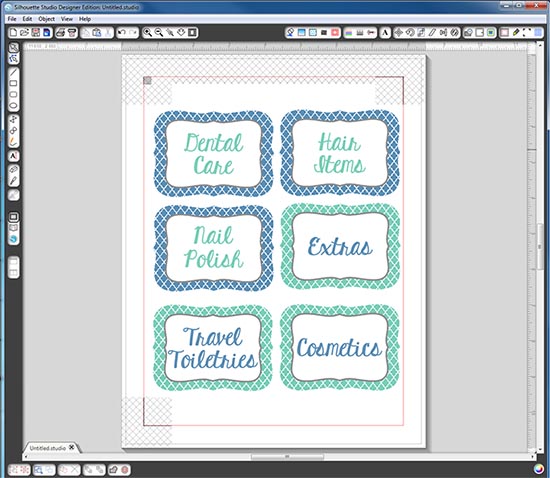
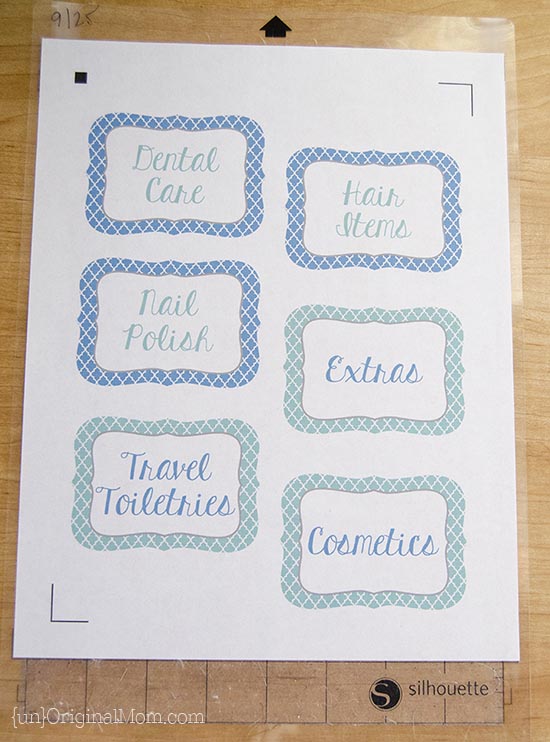
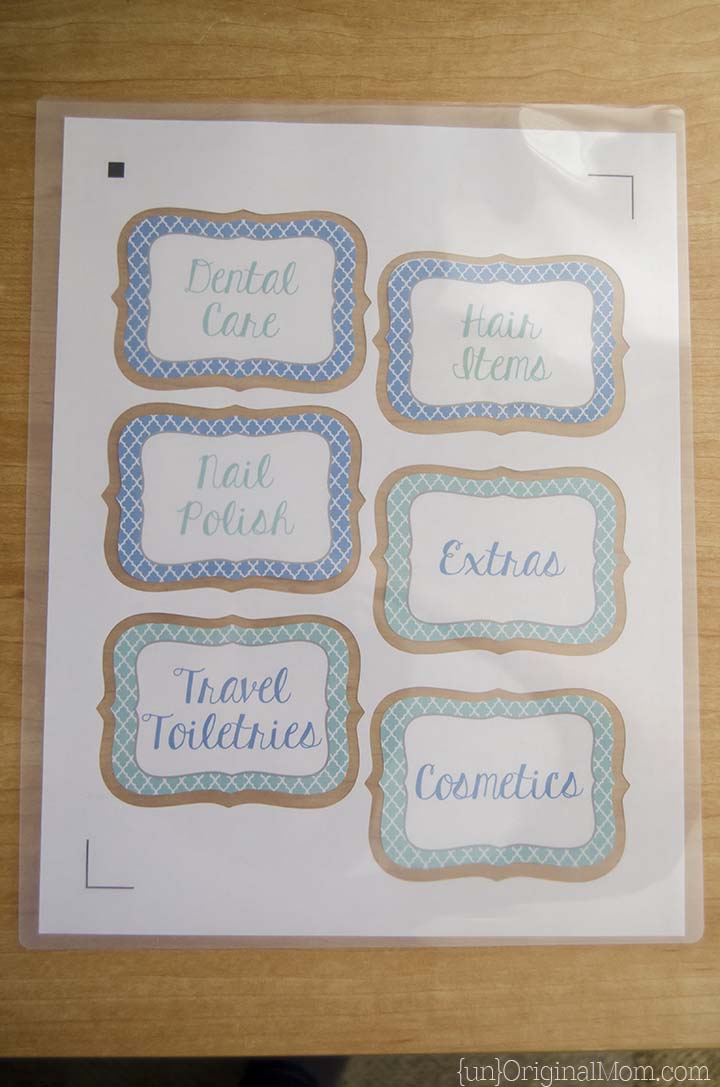
The first step is to create your labels (or other shape) in Silhouette Studio. I created mine using a label in this shape set from the Silhouette Design Store and filling the outer shape with a free quatrefoil pattern from Mel Stampz.
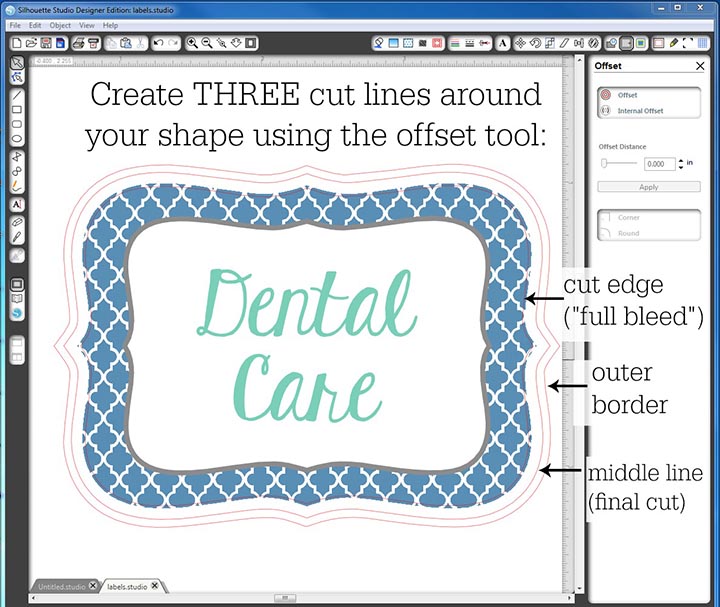
Once you’re happy with your labels, you need to create THREE cut lines using the offset tool. #1 – CUT EDGE. Use the internal offset tool to create a cut line just *slightly* inside of your shape – that creates a “full bleed” image and allows for the machine to be off by a tiny bit when cutting and still have your design go all the way to the edge. #2 – OUTER BORDER. Use the external offset tool to create a cut line about 1/4″ outside of your cut edge. #3 – MIDDLE LINE. This is for your final cut once you’ve laminated your labels – it should be between your cut edge and outer border, but a bit closer to the outer border (like shown in the image below).
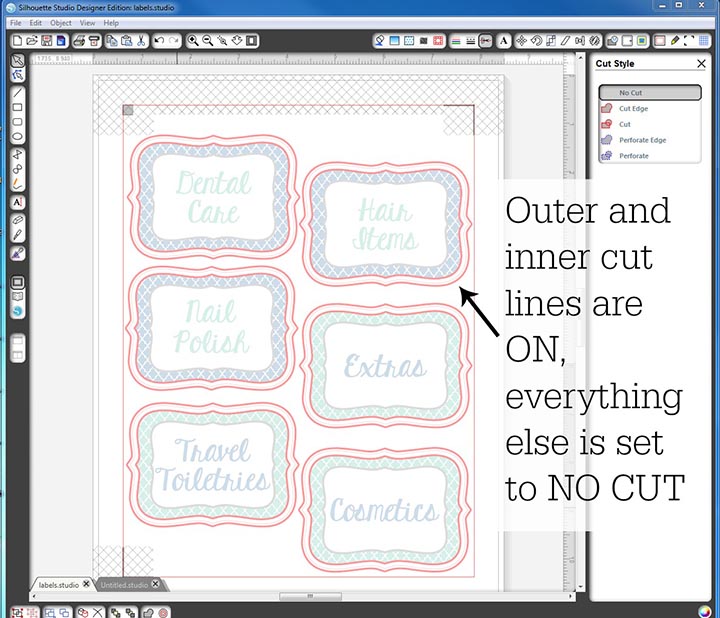
Now, select ONLY your CUT EDGE and your OUTER EDGE to cut. Nothing else should be selected to cut. (I’m still running version 2, so this will look a bit different in version 3 of Silhouette Studio, but the concept is the same.)
Go ahead and proceed with your print and cut! If you’re new to the print and cut world, the first step is to add registration marks to your file before printing. Then print your design – be sure that all of your design elements that you want to be printed have weight and/or fill color. Take your printed design with registration marks, stick it onto your mat, and load it into your Silhouette. Follow the prompts in the software to read the registration marks and cut your design – remember you should have TWO cut lines selected to cut and nothing else.
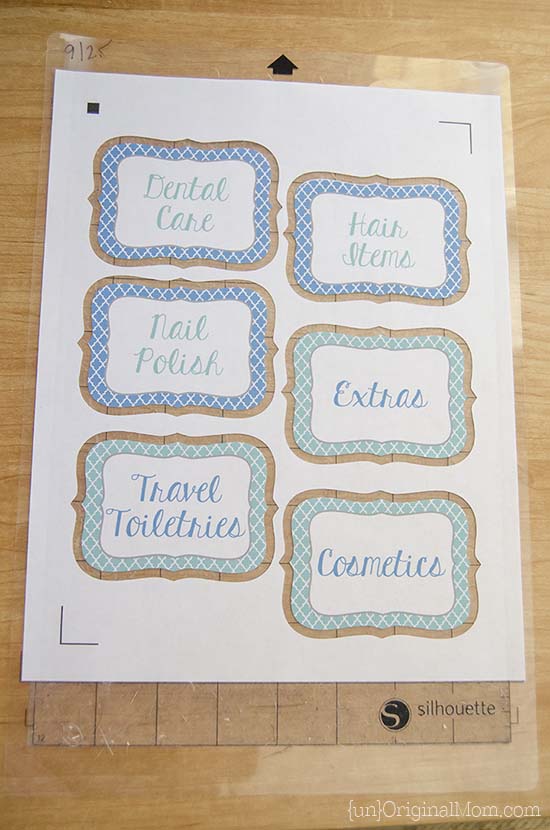
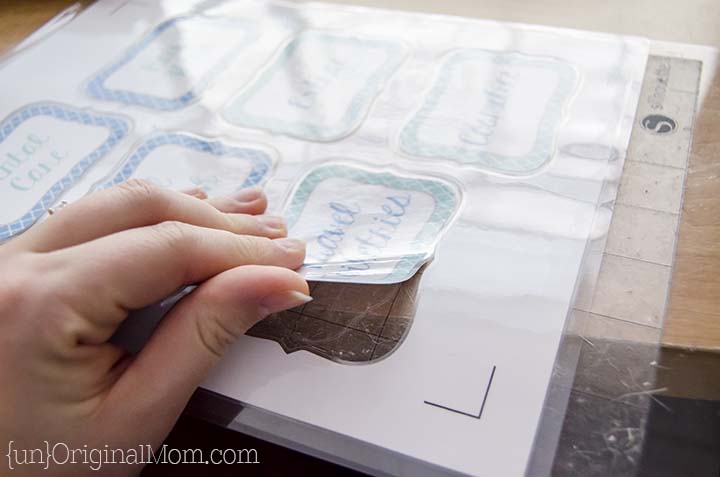
Here’s where it gets a bit different – the only paper that you are discarding now is the ~1/4″ border around your labels – keep the labels AND the outer paper with the registration marks!
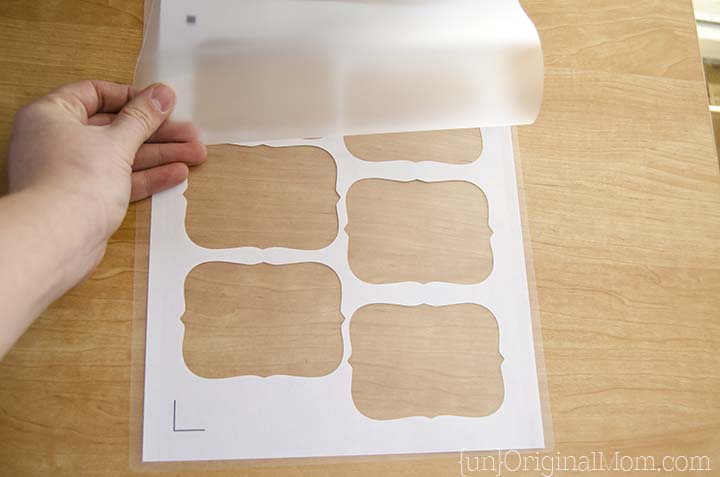
And here’s why – you’re going to take your laminating pouch (I used THESE) and place the outer paper into it, like this:
And then center your labels in the holes, like this:
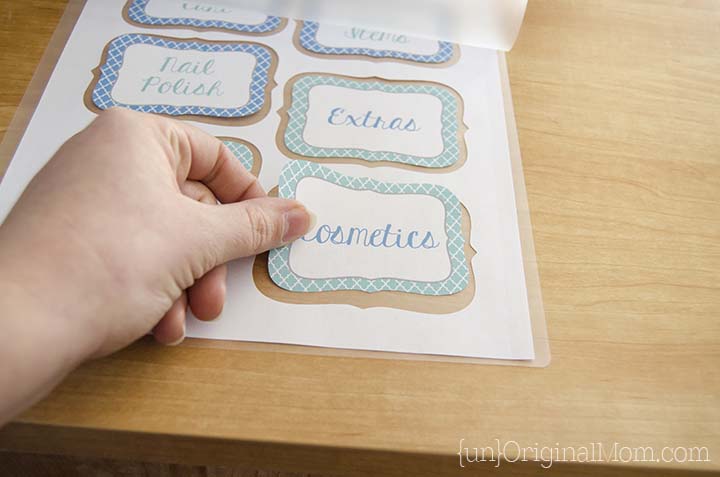
If you want, use a small piece of double-sided tape on the back of each label to make sure they stay centered in the holes.
Now, run it through the laminator!
Now, remember that middle cut line I had you create? The final step is to go back to your file and select only the MIDDLE LINE to cut – that means you’ll have to deselect the other two lines. Stick your laminated sheet onto your mat, have your machine detect the registration marks again, and cut! I used these cut settings: blade 3, thickness 33, speed 2, double cut.
You will have perfect, professional looking, laminated labels!
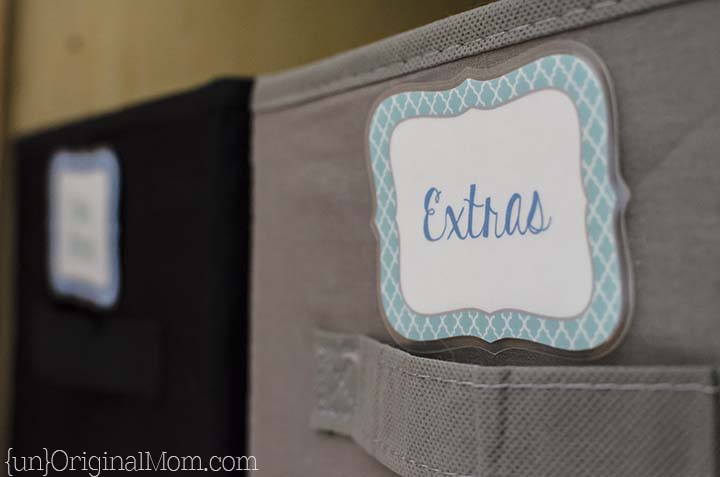
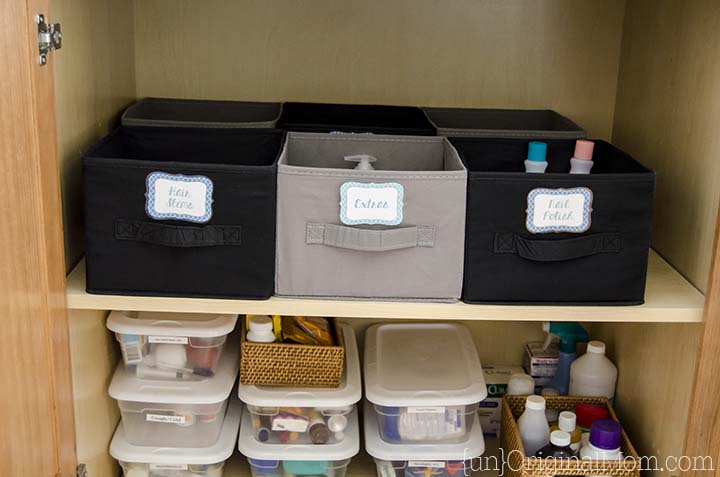
I used them to stick onto some fabric bins I’d picked up at Big Lots a while ago – they are terrific for containing miscellaneous clutter in our bathroom closet! Inside each bin is a bit of an organized mess, but it’s super easy to just toss things into the correct bin now that each one has a specific purpose.

Even though I had to put them two deep so you can’t see all the labels on the front of the bins, it’s easy to take a peek and see which one is which. Eventually we’re going to add one more shelf on top so that the bins can all be seen…but one step at a time :-) I really wish I’d thought to take a “before” picture of the hodge podge of containers and clutter we had on this shelf before…you’ll just have to trust me when I tell you this is a BIG improvement!
NOTE: Some of you more advanced Silhouette users may be wondering why I didn’t use the PixScan mat to cut my laminated labels…I actually tried and it probably would have been successful, but because I’m not running the updated version of Silhouette Studio on my desktop computer yet (though I do have it on my laptop) it just got too darn complicated sending files back and forth. Essentially, by re-using the outer paper with the printed registration marks I was just creating my own little PixScan mat. If you do own the Silhouette PixScan mat, though, you could easily use it to make laminated labels like these. (If you give it a try, let me know how it turns out!)
It’s a new year, which means lots of folks – including me! – are trying to start off 2015 on the right foot by getting things a little bit more organized around the house. Lucky for us, the Silhouette Challenge theme this month was all about organization…so click through the great projects below to be inspired with 32 more ways to get organized using your Silhouette machine!
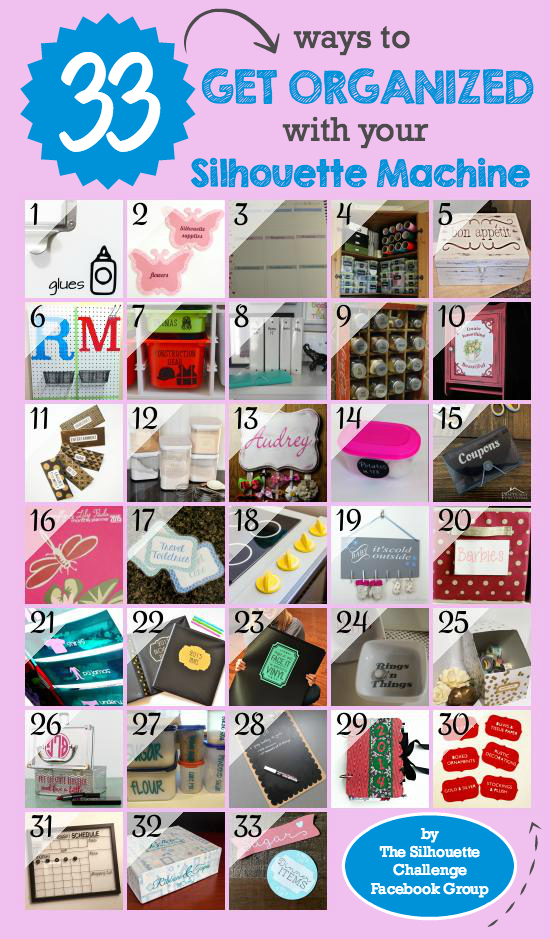
1. Please Excuse My Craftermath… // 2. Simply Kelly Designs // 3. Daily Dwelling // 4. Ginger Snap Crafts // 5. Our Southern Home // 6. Sowdering About // 7. The Moberg Family // 8. Decor Adventures // 9. Pineapples and Pinecones // 10. Patina Paradise // 11. The Thinking Closet // 12. It Happens in a Blink // 13. Adventures in All Things Food // 14. From Wine to Whine // 15. Practically Functional // 16. Dragonfly & Lily Pads // 17. unOriginal Mom // 18. One Dog Woof // 19. Creative Ramblings // 20. My Favorite Finds // 21. Create it. Go! // 22. A Prudent Life // 23. Where The Smiles Have Been // 24. Barb’s Life // 25. Everyday Paper // 26. Pitter and Glink // 27. Peanut Life Adventures // 28. Feto Soap Blog // 29. Our Rosey Life // 30. Two Purple Couches // 31. My Paper Craze // 32. TitiCrafty // 33. Lil Mrs Tori
Happy organizing…and label making! :-)
This post contains affiliate links – click here to read my full disclosure.


Get your copy of my FREE meal planning binder!

Sign up to get a free copy of my meal planning system - an 11 page printable meal planning binder, complete with a pantry inventory, shopping list, and more to help get on top of your menu each week!


Great tutorial. Who needs a label maker when you have a Silhouette?
I know, my poor label maker has been sitting in a drawer collecting dust for a while now…it’s so much more fun to use a Silhouette!
Great idea! I got that laminator, and pixscan for Christmas too. I’ll have to try this out!
You will love how easy it is and how many possibilities it opens up, Karen!
I love this idea, what a great way to make your laminated stuff a little more fun!
Thanks Jessi! I have a feeling I will be laminating all the things…haha!
I’ve wondered many times if the Sil would cut laminate material but never tried it. Your tutorial is awesome!
Thanks Glenna! It cuts surprisingly well, I couldn’t believe how easy it was!
I also got a laminator for Christmas….and my entire family could not understand why I was so excited to receive it! I’m so happy to learn that I can use it for Silhouette projects too….thanks so much for this great tutorial!
Haha I know, I think my husband gave me a funny look when I told him I wanted one for Christmas…they just don’t understand our need for fun toys like this ;-)
This is simply genius! Thanks so much for sharing!
Thanks Bethany!!
GIRL you are a genius. I so Love this idea and I’m pretty sure my organizing freak mom will love this too! LOL
XOXO
Haha, thanks Camila! I am not the most organized person but these certainly make me want to put a label on everything!
These are AMAZING! I love knowing that this is something that can be done because my friend actually commissioned me to make her some labels recently and I wasn’t sure how I was going to make them last! Great job on these!
Perfect! So glad this is helpful for you!!
I love this idea. Thanks for the terrific Step by Step instructions.
Pinning this in case I ever get a laminator :)
Thanks Pam! It is certainly a fun toy to add to the collection ;-)
I just got my laminater in the mail this week. So many projects so little time.
Isn’t that always the case?? This is only my second project with my laminator, I’ve got a bunch more projects on my list too!
Meredith ~ Your idea and process to laminate the label is brilliant! I’m already making a list of things to laminate now. Thanks.
I almost bought this laminator on Amazon during the Deals of the Day during the holidays! I should’ve! Thanks so much for stopping by Creative Spark Link Party last week! Hope you stop by again today! bit.ly/1EqDIug
I got a laminator on amazon too!! What thickness pouches did you use – 3mm? (I also bought 5 mm and 7 mm for some projects). Thanks!
I used 3mm pouches on these and they worked great!
Great! Thank you!
[…] // 14. From Wine to Whine // 15. Practically Functional // 16. Dragonfly & Lily Pads // 17. unOriginal Mom // 18. One Dog Woof // 19. Creative Ramblings // 20. My Favorite Finds // 21. Create it. Go! // 22. […]
Oh! This could easily become my new obsession! Thank you for sharing this fabulous idea!!
Thank you so much for posting this tutorial. It worked perfectly. I needed to cut out 54 arrows, laminate them and then cut them out of the laminating paper. This tutorial has saved me hours! Thank you!!
Allison, it makes me so happy to hear this! SO glad this was helpful for you!
Despite desperately trying everything possible, my cameo WOULD NOT and I mean WOULD NOT cut my laminated stuff ( I have the same exact laminator as you do) :( I had to give up before I threw the thing from seeing the constant “registration mark error”. I swear this thing works when it wants to!
You know, that happens to me sometimes too. I wish I could say I had a fix-it-all solution, but you’re right, those machines sometimes have a mind of their own! Sometimes shining a flashlight on the paper while it’s reading the registration marks works, or sometimes just unloading the page, shifting it slightly one way or the other, then reloading it works. But every once and a while I just have to turn it off and walk away…usually when I come back to it the next day it works fine!
This is happening to me right now. It wasn’t working last night, or just now. Then it worked for one sheet, and started giving the error yet again after it. So I’m guessing my machine just doesn’t want to cut laminate right now. -_-
Print and cut can be so finicky sometimes! Sometimes restarting the computer and Silhouette and then just walking away for a while has helped me.
I know this is an older post but somehow I just recently stumbled onto the world that is planner clips and I knew I could do this with my Silhouette Cameo, I just couldn’t figure out the recut the laminate part.
I don’t have a PixScan mat so I’m super happy to see this alternative.
So glad this was helpful for you, Susan! I actually do have a PixScan mat but I still find this method easier and more reliable. I’ve used this method many times, I love the perfect little laminated cards I end up with…the Type A side of me loves it, haha.
Has anyone had success with 10mil (250 micron) laminate. I got it to cut 5mil (125microns). I was playing with settings but I haven’t been able to get more than half way through. I do have a deep cut blade but haven’t used it for fear of breaking it. I looked at settings and couldn’t work out how to get it in the software to go higher than 10.
Help!
I’m having the same issue. Did u every find out how to cut 10 mil laminate?
THANK YOU SO MUCH for this awesome tutorial! I have a PixScan mat but never seem to be successful with it. So this worked BEAUTIFULLY to make name tags for my murder mystery party!
Oh I’m so glad you found it helpful, Evie! You’re very welcome! :-)
Hi Meredith, love your tutorial! Thank you for sharing it! I have a question! After the laminate step and putting it back on your cutting mat to run through the Silhouette again to do the final cut, do you have any problems with the cuts being off a bit even though its reading the registration marks again? When I’ve removed a page with registration marks off my mat and then put back to reread and cut something, it never lines up again for me. Just wondering if this might happen again or if I’m missing something! Thanks so much!!!
Hey Meredith!
Dumb question here from a Silhouette newb. I have a laminator and want to make laminated labels – but how do you make the backside of the label sticky if its been laminated inside a pouch? I dont know of anyway to laminate only the front side of a label sheet. Please help!
Not a dumb question! I used double sided tape to stick my laminated label onto the bins. You could also hole-punch then and tie them on, or something like that. But this method will just give you sturdy laminated cards. (I like using this method for things like flash cards too.) If you’re looking to label something by sticking it on – especially if it’s a plastic bin or other kind of smooth surface – you could also cut a vinyl label instead!
Thank you so much for this tutorial. You have literally saved my Grandsons birthday favors. He loves reading and wanted to have bookmarks….I have the Pix Scan Mat and could not get it to configure…..threw away tons of laminated bookmarks and had to start over….this is so much easier. Thank you, thank you, thank you!!!
Oh I’m so glad to hear that!! I’ve never had much luck with the Pix Scan mat either, I find this method much more reliable, even though it adds an extra step or two.
This is genius!!! Now is there a clever way to fill a page with letters (like for bulletin boards) to save material. I just did a Dr. Seuss font for teacher appreciation and was really wishing for such a thing…
Hi, this all sounds great except no one bother to let us know what thickness of laminating pouch you use. Is it 3, 5, 7, or 10 mil. Those setting only seem to work on the 3 mil. This is very flimsy laminating sheet
Actually, if you go back and reread the blog post more carefully you’ll see that I included a link to the exact laminating pouches I used. They are 3 mil. They have been very sturdy for my needs – in fact I wrote this post 5 years ago and these labels (along with several other laminate-and-cut projects I did at the same time) are still in great shape. If you want something even thicker then you will likely need to use a deep cut blade with the Cameo 4.
I made cute little letters to label each cut of my fabric for sewing/quilting. You can buy them, but I don’t want to wait on the postal service. I’m new to cutting machines so I am so happy I found this post!
[…] // 14. From Wine to Whine // 15. Practically Functional // 16. Dragonfly & Lily Pads // 17. unOriginal Mom // 18. One Dog Woof // 19. Creative Ramblings // 20. My Favorite Finds // 21. Create it. Go! // 22. […]
Thank you for sharing your info. I really appreciate your efforts and I will be waiting
for your next post thanks once again.
I do trust all the ideas you’ve introduced in your post.
They’re really convincing and can certainly work.
Nonetheless, the posts are too quick for novices.
Could you please lengthen them a little from subsequent time?
Thanks for the post.
This is such a cool tip! I had no idea you could use a Silhouette to cut laminated labels. The step-by-step process is really clear. I love how you explained creating the three cut lines. Can’t wait to try this myself!
Great article! We will be linking to this particularly great post on our site.
Keep up the good writing.